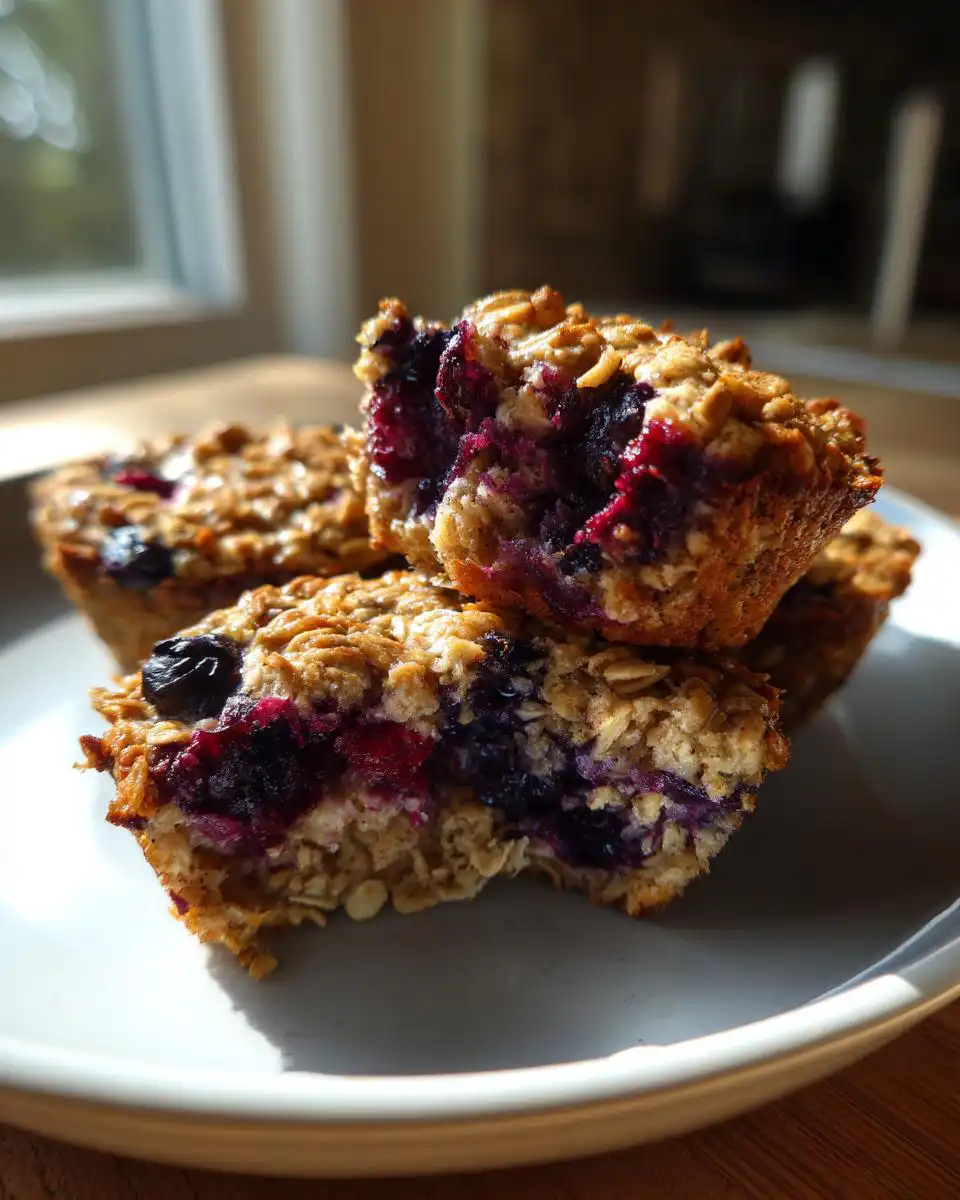
Let’s be honest, weekday mornings are pure chaos. The snooze button, the frantic search for a clean shirt, the “what’s for breakfast” panic that almost always ends with a sad piece of toast. I hit a wall with this last year. My mission became finding a healthy breakfast I could grab, heat, and eat in under 90 seconds—and actually enjoy. That’s how my Blueberry Baked Oatmeal Cups for Meal Prep were born.
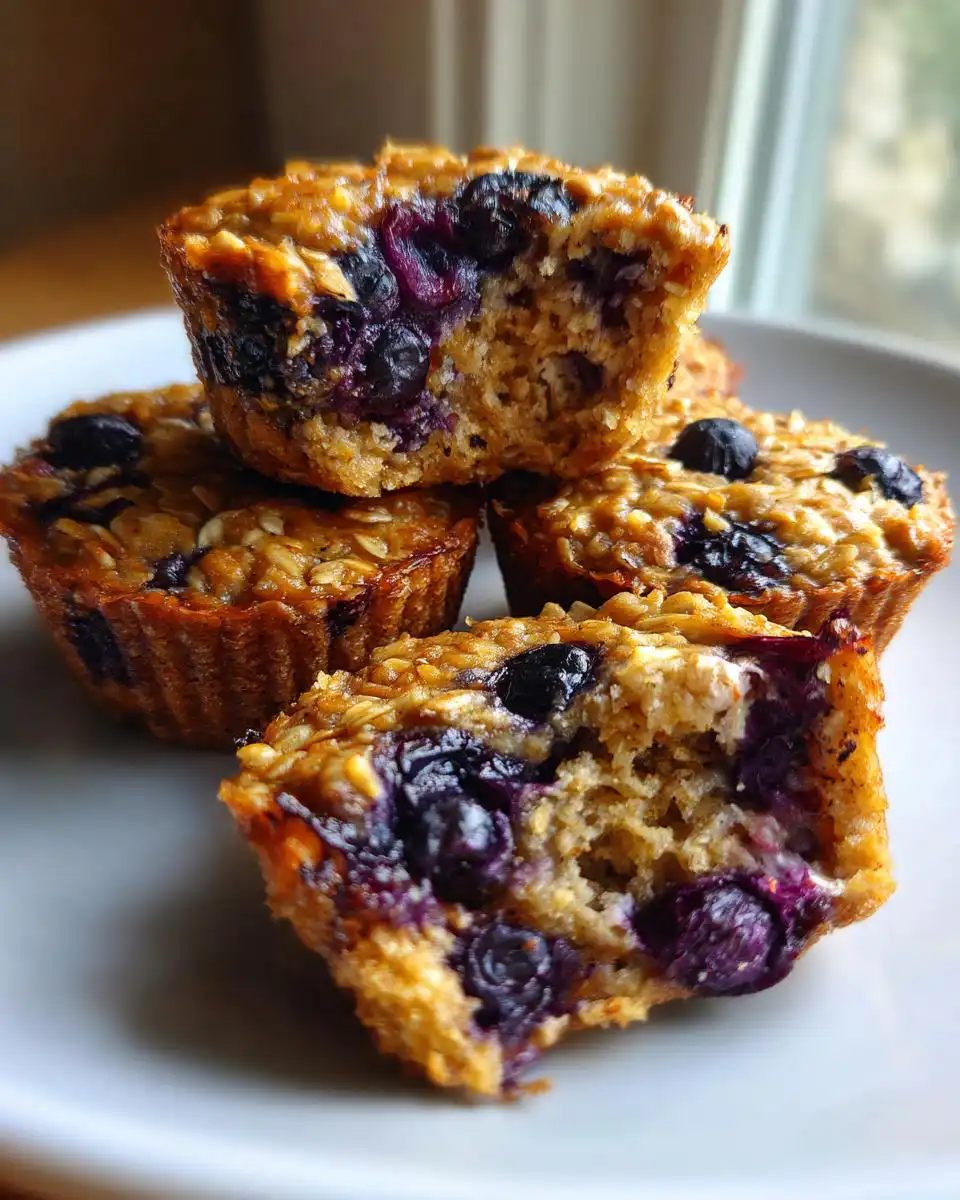
This recipe was my kitchen lightbulb moment. I wanted something soft and cakey like my favorite Healthy Blueberry Banana Protein Muffins but more like a warm, portable bowl of oatmeal. After some delicious trial and error (mostly error—my first batch was hockey pucks), I nailed it. These cups are naturally sweet with maple syrup, studded with juicy blueberries, and they freeze like a dream. I now bake a batch every Sunday without fail, inspired by the same grab-and-go spirit as my other favorite healthy banana oat recipes. They’re the one thing my whole family agrees on, and they’ve completely changed our morning routine. No more hangry kids or coffee-only breakfasts for me!
Why You’ll Love These Blueberry Baked Oatmeal Cups for Meal Prep
Okay, let’s talk about the real reasons these little cups have taken over my fridge. It’s not just one thing—it’s everything they fix about the chaotic breakfast scramble.
They’re the ultimate grab-and-go lifesaver. Seriously, I can’t overstate this. Make them once on a Sunday, and your weekday breakfasts are solved. Just grab one from the fridge, pop it in the microwave for 45 seconds, and you’re eating a warm, wholesome meal while everyone else is still looking for their keys.
They’re naturally sweet and super satisfying. Thanks to the maple syrup and juicy blueberries, they taste like a treat. But there’s no weird sugar crash later. The oats and protein from the eggs and milk keep you full right up until lunch. It’s a win-win.
They freeze perfectly. This is my secret weapon. I always make a double batch and freeze half. On those weeks when I skip my usual high-protein breakfast meal prep, I’m so grateful to have a stash of these in the freezer. They thaw overnight in the fridge and taste freshly baked.
They’re incredibly easy to make. One bowl for dry stuff, one bowl for wet stuff, mix, fold in blueberries, and bake. That’s it. No fancy skills required. If you can stir, you can make these. My kids love to help pour the batter into the muffin tin.
Ingredients for Your Blueberry Baked Oatmeal Cups
You probably have most of this stuff in your pantry right now. I’ve tried a few variations, but this is my absolute favorite combo for the perfect texture and flavor. It’s the same base I use for my other go-to healthy baked oatmeal recipes.
- 2 cups old-fashioned rolled oats (don’t use quick oats here—they get too mushy)
- 1 teaspoon baking powder (the secret to a light, cakey texture)
- 1/2 teaspoon ground cinnamon
- 1/4 teaspoon fine sea salt (trust me, it makes the sweetness pop)
- 1 1/2 cups milk (I use whole milk, but any kind works)
- 1/3 cup pure maple syrup (this is my sweetener of choice for that cozy flavor)
- 2 large eggs, beaten
- 1 teaspoon pure vanilla extract
- 1 tablespoon olive oil (or melted coconut oil works great too)
- 1 cup fresh blueberries (or frozen—don’t thaw them, just toss them in frozen!)
How to Make Blueberry Baked Oatmeal Cups: Step-by-Step
Alright, let’s get baking! This is the fun, hands-on part. I promise it’s easier than you think. The key is not to overmix—you want everything just combined. Think of it like a slightly chunkier muffin batter.
Step 1: First things first, crank that oven to 375°F. I know it’s basic, but I’ve forgotten to preheat more times than I care to admit! While it warms up, grab your muffin pan. I like to spray it generously with a little cooking spray. You can use paper liners, but I find spraying gives the cups those lovely crispy edges that my family fights over.
Step 2: In a big mixing bowl, dump in your rolled oats, baking powder, cinnamon, and salt. Give it a good whisk. You’re just making sure the baking powder is evenly distributed so every bite rises perfectly. That’s your dry team, ready to go.
Step 3: Grab a second bowl for your wet ingredients. Pour in the milk, maple syrup, beaten eggs, vanilla, and oil. Whisk it like you mean it until it’s completely smooth and everything is one happy, golden liquid. This is where all the moisture and sweetness comes from.
Step 4: Time to bring the party together! Pour your wet mixture right into the bowl with the dry ingredients. Use a rubber spatula and stir gently until everything is just moistened. A few lumps are totally fine—overmixing is the enemy of tender oatmeal cups.
Step 5: Now for the star of the show: the blueberries! Gently fold them in with a few turns of your spatula. If you’re using frozen berries (which work great!), toss them in straight from the freezer to prevent the batter from turning purple.
Step 6: Divide the batter evenly among your 12 muffin cups. I like to fill them nearly to the top; they don’t rise a huge amount. This gives you a nice, substantial cup. A cookie scoop or a 1/4 cup measure makes this step super easy and mess-free.
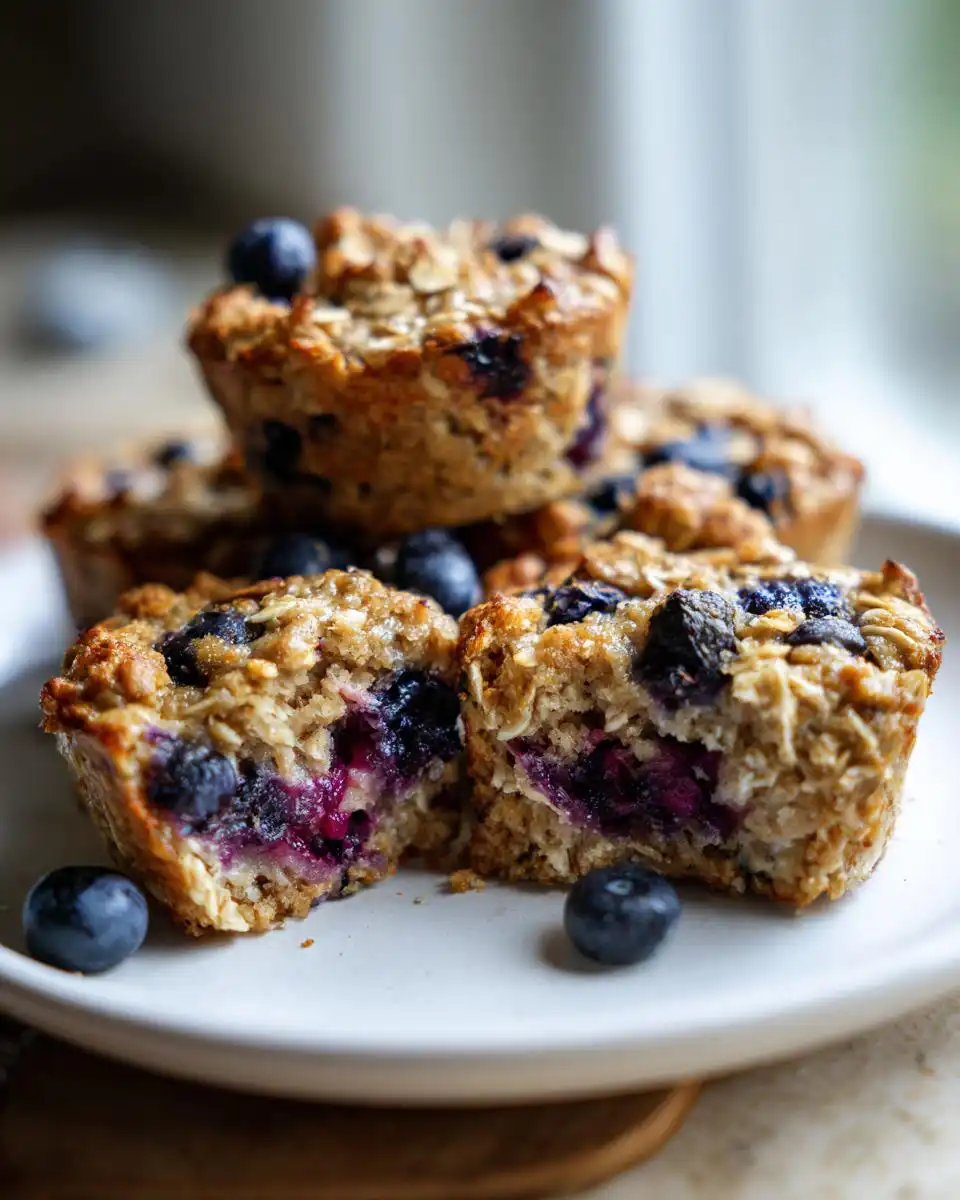
Step 7: Slide the pan into your preheated oven and bake for 22 to 25 minutes. You’ll know they’re done when the tops are lightly golden and the centers feel set when you give them a gentle poke. They’ll smell incredible, like a cozy bakery.
Step 8: This is the hardest part: let them cool in the pan for a good 10 minutes. I know, I want to eat one immediately too! But this lets them firm up so they don’t fall apart when you take them out. After that, transfer them to a wire rack. They’re delicious warm, and they firm up to the perfect texture as they cool, just like my favorite Greek yogurt blueberry protein muffins. And that’s it—your meal prep hero is ready!
Serving Suggestions for Your Baked Oatmeal Cups
With a dollop of Greek yogurt: This is my go-to! The cool, creamy yogurt adds a tangy contrast and a serious protein boost that keeps me full for hours. It’s the same satisfying combo I love in my high-protein cottage cheese breakfast bowls.
Alongside a protein smoothie: On my busiest mornings, I grab an oatmeal cup and sip on a quick high-protein breakfast smoothie. It feels like a complete, nourishing meal without any fuss.
Drizzled with nut or seed butter: For extra staying power and healthy fats, I love warming a cup and adding a drizzle of almond or peanut butter. It melts right in and makes it taste like dessert.
With a side of fresh fruit: Sometimes simple is best. A handful of berries or some sliced banana on the side adds freshness, extra fiber, and makes the whole plate look (and taste) amazing.
Storage, Reheating, and Meal Prep Tips
Getting the storage right is what makes these an absolute game-changer. Follow these tips and you’ll have a perfect breakfast ready in seconds, any day of the week.
For the fridge, let the cups cool completely first. I pop them in an airtight container, and they stay fresh and soft for up to 5 days. It’s my go-to method for the current week’s breakfasts.
For long-term stash, the freezer is your best friend. Wrap each cooled cup individually in a little plastic wrap or foil, then toss them all into a freezer bag. They’ll keep beautifully for up to 3 months. I do this every time I make a batch—future me is always grateful.
Reheating is a breeze. From the fridge, I microwave one for about 45 seconds until it’s warm and soft again. From frozen, you can either thaw it overnight in the fridge first, or microwave it for 90 seconds straight from the freezer. If you want that freshly-baked edge, pop it in a toaster oven at 350°F for 8-10 minutes.
My biggest meal prep tip? Make a double batch. It takes barely any extra time, and you instantly stock your freezer. It’s the same strategy I use for my healthy chicken meal prep bowls—cook once, eat all week (or month!). Having these Blueberry Baked Oatmeal Cups on hand makes busy mornings feel totally manageable.
Blueberry Baked Oatmeal Cups FAQ
I get a few of the same questions about these cups every time I share the recipe, so I thought I’d answer the big ones right here. Hopefully this helps you customize your batch!
Can I use frozen blueberries?
Absolutely! In fact, I use frozen berries all the time. The trick is to add them straight from the freezer, without thawing. Just gently fold them in at the very end. If you thaw them first, they’ll bleed a lot of purple juice into your batter (still tasty, just a different look!). Frozen berries also help keep the batter cold, which can give you a slightly better rise in the oven.
Can I make these dairy-free or vegan?
You sure can. For dairy-free, just swap the milk for your favorite unsweetened almond, oat, or soy milk. To make them vegan, you’d also need to replace the eggs. A common swap is to use a “flax egg” (1 tablespoon ground flaxseed mixed with 2.5 tablespoons water per egg, let it sit for 5 minutes). I haven’t tested that exact version for this recipe, but it works great in my other gluten-free banana bread cookies, so it should work here too!
Are these oatmeal cups gluten-free?
They can be, but you have to check your labels. Oats themselves are gluten-free, but they’re often processed in facilities that also handle wheat. To be sure, make sure your rolled oats are certified gluten-free. If you use those, then yes, these baked oatmeal cups are totally gluten-free and delicious for everyone to enjoy. For more gluten-free baking inspo, you can always check out my Pinterest boards!
Nutritional Information
A quick but important note on the numbers—because I know a lot of us are paying attention to what we’re eating!
I’ve included the estimated nutrition per oatmeal cup to give you a good idea of what you’re getting. But please remember, these numbers are just estimates. The actual calories, protein, carbs, and everything else can change depending on the exact brand of oats, the type of milk, or even how juicy your blueberries are. If you’re tracking macros for a specific health goal or have dietary restrictions, the most accurate thing to do is plug your own ingredients into a nutrition calculator. That way, you know exactly what’s in your perfect batch.
Before You Go
I really hope you give these Blueberry Baked Oatmeal Cups a try. They’ve brought so much peace to my chaotic mornings, and I’d love for them to do the same for you. Happy baking, and enjoy those easy, delicious breakfasts!
Print
Blueberry Baked Oatmeal Cups
- Total Time: 35 min
- Yield: 12 oatmeal cups
Description
Soft, naturally sweet baked oatmeal cups with blueberries, ideal for meal prep.
Ingredients
- 2 cups rolled oats
- 1 teaspoon baking powder
- 1/2 teaspoon cinnamon
- 1/4 teaspoon salt
- 1 1/2 cups milk
- 1/3 cup maple syrup
- 2 large eggs
- 1 teaspoon vanilla extract
- 1 tablespoon olive oil
- 1 cup fresh blueberries
Instructions
- Preheat your oven to 375°F. Lightly grease a muffin pan or line it with paper liners.
- In a large bowl, mix the rolled oats, baking powder, cinnamon, and salt.
- In another bowl, whisk the milk, maple syrup, eggs, vanilla extract, and olive oil until combined.
- Pour the wet ingredients into the dry ingredients and stir until evenly mixed.
- Gently fold in the blueberries.
- Divide the mixture evenly into the muffin cups, filling each nearly to the top.
- Bake for 22 to 25 minutes until the centers are set and the tops are lightly golden.
- Let the cups cool in the pan for 10 minutes before removing them.
Notes
- Store in the refrigerator for up to 5 days. Reheat briefly in the microwave for a quick breakfast.
- Prep Time: 10 min
- Cook Time: 25 min