Let’s be honest, there’s something ridiculously satisfying about a homemade pizza night. It’s messy, it’s fun, and you get to load it up with exactly what you want. My problem used to be finding a dough recipe that wasn’t a whole-day project. Then I discovered this brilliant Mary Berry pizza dough recipe, and it was a total game-changer for our Fridays.
This recipe is my absolute go-to because it delivers that dream combination – a soft, chewy middle with a crisp, golden edge – and it’s ready from bowl to table in about half an hour. I’ve tested it more times than I can count on movie nights, and it’s never let me down. Trust me, once you see how easy it is, you’ll never look at a takeaway menu the same way again.
Why You’ll Love This Mary Berry Pizza Dough Recipe
Honestly, this dough has become my secret weapon for quick, impressive meals. It’s a no-fuss recipe that just works, and I think you’ll love it for all the same reasons I do.
- It’s stupidly quick. From the moment you grab your flour to pulling a hot pizza out of the oven, you’re looking at about 30 minutes. Perfect for when hunger strikes.
- You don’t need any fancy gear. Just a bowl, a spoon, and your hands. No stand mixer required.
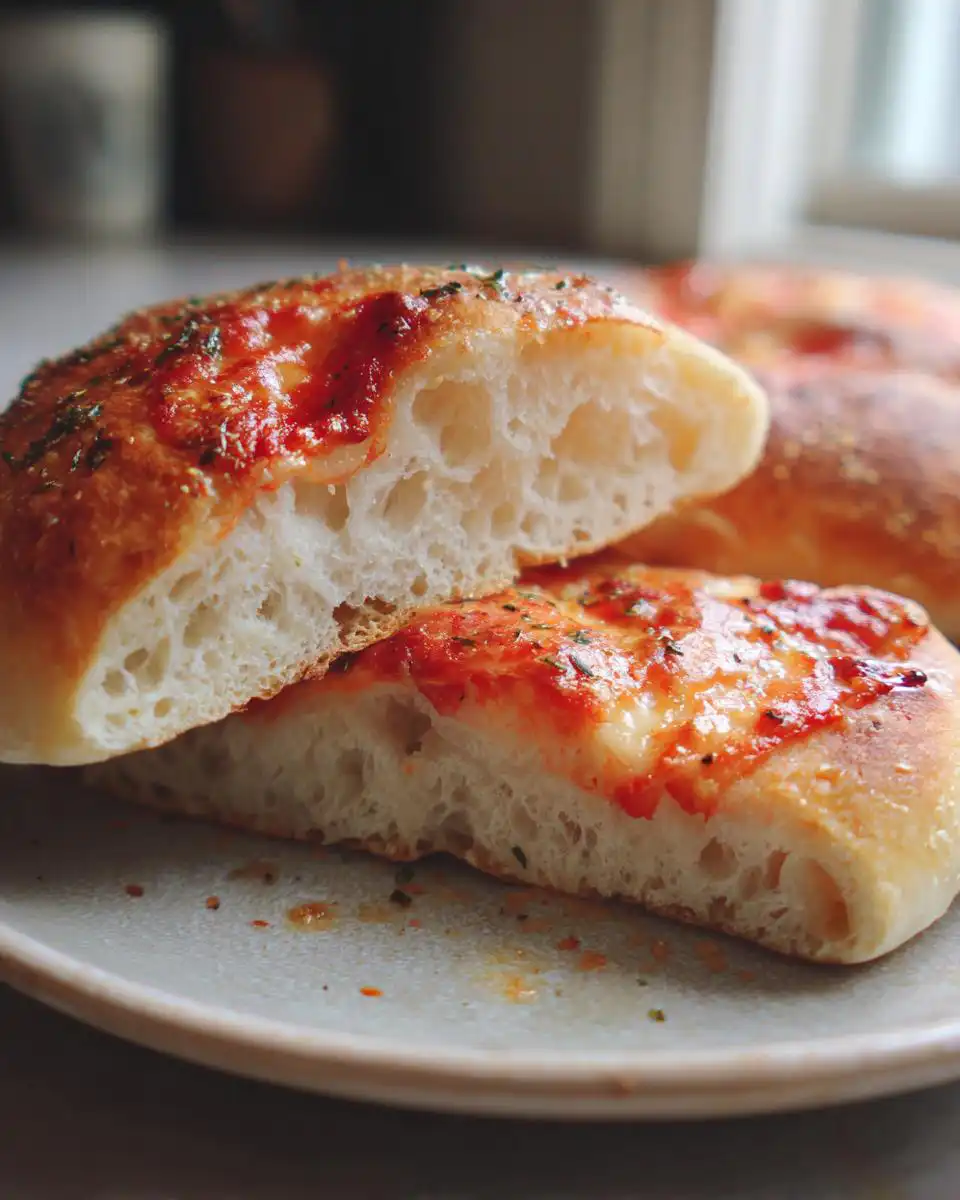
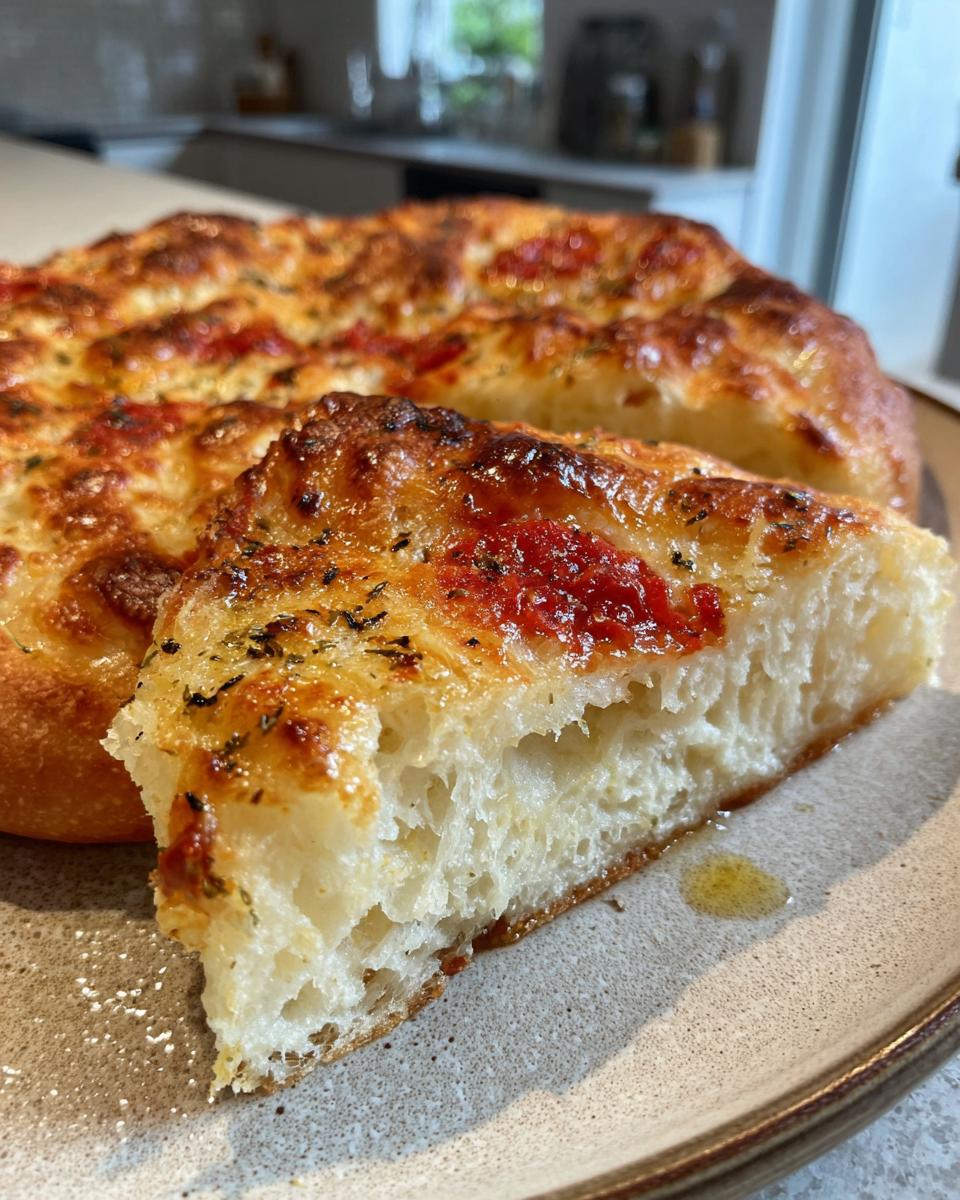
- That dreamy texture. It bakes up soft and pillowy on the inside with a wonderfully crisp, golden edge.
- It’s a total blank canvas. Go classic with pepperoni, keep it simple with just cheese, or get wild – it holds up to any topping combination.
- The sneaky bit of flavour. The little bit of garlic powder and dried basil in the dough gives it a subtle savoury lift that just tastes… well, more professional.
Ingredients for Your Mary Berry Pizza Dough
Honestly, half the magic of this recipe is that you probably have most of this stuff in your cupboard right now. The garlic powder and dried basil are my little twist – they give the crust a lovely savoury depth without being overpowering. Just make sure your water is nicely warm, not hot, or you’ll send the poor yeast into a panic!
- 2 to 2 1/3 cups (250-300g) plain flour
- 2 1/4 teaspoons (7g) instant yeast
- 1 1/2 teaspoons sugar
- 3/4 teaspoon salt
- 1/4 teaspoon garlic powder
- 1/4 teaspoon dried basil
- 2 tablespoons olive oil
- 3/4 cup (180ml) warm water
- 1 tablespoon olive oil, for shaping
Step-by-Step Guide to the Perfect Mary Berry Pizza Dough
Alright, let’s get stuck in! I always start by getting my warm water ready – you want it just pleasantly warm to the touch, like a nice bath for the yeast. Too hot and you’ll kill it, too cold and nothing will happen. It’s the secret to that quick 30-minute rise.
Step 1: Grab a big mixing bowl and add 1 cup of your flour. To that, add the instant yeast, sugar, salt, garlic powder, and dried basil. Give it a quick whisk with a fork – this just makes sure everything, especially the yeast and salt, is evenly distributed. No one wants a salty bite in one spot and nothing in the next!
Step 2: Pour in the warm water and the 2 tablespoons of olive oil. Now, take a wooden spoon and stir like crazy. You’ll get a very wet, smooth batter. This is exactly what you want. It might look too sloppy now, but trust the process.
Step 3: This is where the magic happens. Start adding the rest of your flour, about a quarter cup at a time, stirring it in with your spoon. Keep going until the dough starts to pull away from the sides of the bowl and forms a soft, slightly tacky ball. You might not need all the flour, or you might need a tiny bit more – flour can be funny like that. The dough should feel soft and alive, not dry and tough.
Step 4: Lightly flour your work surface and tip the dough out. Knead it for just a minute or two, until it feels smooth and elastic. Shape it into a neat ball. Pop it into a lightly oiled bowl, turn it over so it gets a little coat of oil all over (this stops it drying out), cover the bowl with a clean tea towel, and leave it in a warm, draught-free spot. Set a timer for 30 minutes – it should double in size. I use this time to get all my toppings prepped!
Step 5: About 10 minutes before your dough is ready, crank your oven up to 220°C (that’s 425°F). If you have a pizza stone or baking steel, get it in there to heat up now. If not, a regular baking tray is absolutely fine – just make sure you line it with parchment paper later.
Step 6: Once your dough is beautifully puffy, give it a gentle punch to deflate it. Turn it out onto a floured surface and knead for just another minute to knock out any big air bubbles. This gives you a more even base.
Step 7: Now, for the fun part! You can roll it out with a pin or stretch it by hand – I do a bit of both. Aim for a circle about 10 to 12 inches across. Carefully transfer it to your lined tray. Brush the entire surface, especially the edges, with that last tablespoon of olive oil. This is the key to that gorgeous golden, crisp crust. Finally, take a fork and prick the centre of the dough a few times. This stops it from puffing up like a balloon in the oven, so your toppings don’t all slide off!
Step 8: Load on your favourite sauce and toppings. Be careful not to overload it, especially in the middle. Slide it into the hot oven and bake for 13 to 15 minutes. You’re looking for a deep golden brown crust and bubbling cheese. And that’s it! You’ve just made incredible homemade pizza. If you fancy experimenting with other bases, I’ve also had great fun with this easy gluten-free pizza dough for friends, and this sourdough discard pizza crust is brilliant for using up my starter.
Expert Tips for Your Mary Berry Pizza Dough
After making this dough more times than I can remember, I’ve picked up a few little tricks that make a huge difference. These are the things that took my pizza from ‘okay’ to ‘wow, you made this?!’
Get the water right. This is the biggest one. Your water needs to be warm, like a nice bath, not hot. I test it on my wrist – if it feels comfortably warm, it’s perfect. Hot water kills the yeast and you’ll get a flat, sad pizza base.
Check the rise with a fingertip. Don’t just eyeball it. After 30 minutes, gently poke the dough with a floured finger. If the indentation slowly springs back about halfway, it’s ready. If it springs back immediately, give it more time.
Preheat your tray for crunch. For an extra-crispy, restaurant-style base, put your empty baking tray in the oven while it preheats. Carefully lay your shaped dough on the hot tray – you’ll hear a satisfying sizzle! It makes the bottom beautifully crisp. The same trick works wonders for other bakes, like my favourite garlic parmesan artisan bread.
Swap the flour for a chewier bite. If you love a really chewy, crisp crust, try using strong bread flour instead of plain. It has more protein, which gives the dough more structure and a fabulous bite. It’s my go-to when I’m feeling fancy!
What to Serve with Your Homemade Pizza
A pizza night feels like a proper event in our house, so I love rounding it out with a couple of easy sides. It turns it into a full, balanced meal and means everyone leaves the table completely happy.
A Vibrant Mediterranean Salad: The fresh, zingy flavours cut through the richness of the cheese perfectly. I’ll often whip up a quick one with tomatoes, cucumber, red onion, olives and a lemon-oregano dressing. It adds a fantastic hit of veggies and feels really wholesome. For more inspiration, I have a whole collection of Mediterranean salad recipes that work a treat.
Garlic & Herb Yogurt Dip: This is my kids’ favourite. It’s just thick Greek yogurt mixed with a little crushed garlic, lemon juice, and chopped herbs like dill or chives. It’s cool, creamy, and much lighter than a dollop of mayo or sour cream. It’s amazing for dipping your crusts into! I use it all the time, and you can find more ideas in my Greek yogurt sauce recipes.
Storing and Reheating Your Mary Berry Pizza Dough
This dough is fantastic for a bit of clever planning ahead. Honestly, knowing you’ve got pizza dough waiting in the fridge makes a busy weeknight feel so much easier.
For leftover dough: Wrap the ball tightly in cling film and pop it in the fridge for up to 24 hours. Let it come to room temperature for about 30 minutes before you shape it. To freeze, wrap it well and stash it for up to 3 months. Thaw overnight in the fridge. My favourite meal prep trick is to divide the dough into individual portions before I freeze them – it means pizza for one is just as easy as pizza for a crowd!
For baked pizza: Leftover slices keep well in an airtight container in the fridge for 2-3 days. To reheat, forget the microwave – it turns the crust soft and sad. Instead, pop them in a hot oven (200°C) or air fryer for a few minutes. It brings back that wonderful crispness beautifully.
Mary Berry Pizza Dough Recipe FAQ
I get it – yeast can be a bit intimidating and sometimes things don’t go to plan. Don’t worry, it happens to everyone! Here are the answers to the questions I’m asked most often about this Mary Berry pizza dough recipe.
Can I make this pizza dough ahead of time?
Absolutely, and it’s a brilliant time-saver! After the first rise, you can wrap the dough ball tightly in cling film and pop it in the fridge for up to 24 hours. Just let it sit at room temperature for about half an hour before you shape it. You can also freeze it for up to 3 months.
Can I use active dry yeast instead of instant?
You can, but there’s one extra step. Instant yeast mixes right in with the dry ingredients. If you only have active dry yeast, you’ll want to “wake it up” first. Dissolve it with the sugar in the warm water and let it sit for 5-10 minutes until it gets frothy on top. Then, add it to your flour with the oil and carry on as usual.
Why isn’t my dough rising?
Oh, this is so frustrating! Nine times out of ten, it’s down to the water temperature or old yeast. Remember, the water needs to be warm, not hot – test it on your wrist. If your yeast has been sitting in the cupboard for over a year, it might have lost its oomph. Fresh yeast makes all the difference. Also, make sure you’re leaving the bowl in a lovely warm, draught-free spot to prove.
Nutritional Information
Please note, the nutritional value for this Mary Berry pizza dough recipe can vary quite a bit depending on the exact flour, oil, and toppings you use. I always see it as a helpful guide rather than a strict rule, as different brands and your own personal tweaks will change the final numbers.
Before You Go
I really hope you give this Mary Berry pizza dough recipe a go for your next pizza night. It’s brought so much fun to our kitchen, and I’m certain it will to yours too. I’d be chuffed to bits to hear how it turns out for you—let me know in the comments! And if you’re looking for more kitchen inspiration, you can always find me over on Pinterest. Happy baking!
Print
Mary Berry Pizza Dough
- Total Time: 30 min
- Yield: 12 slices
- Diet: Vegetarian
Description
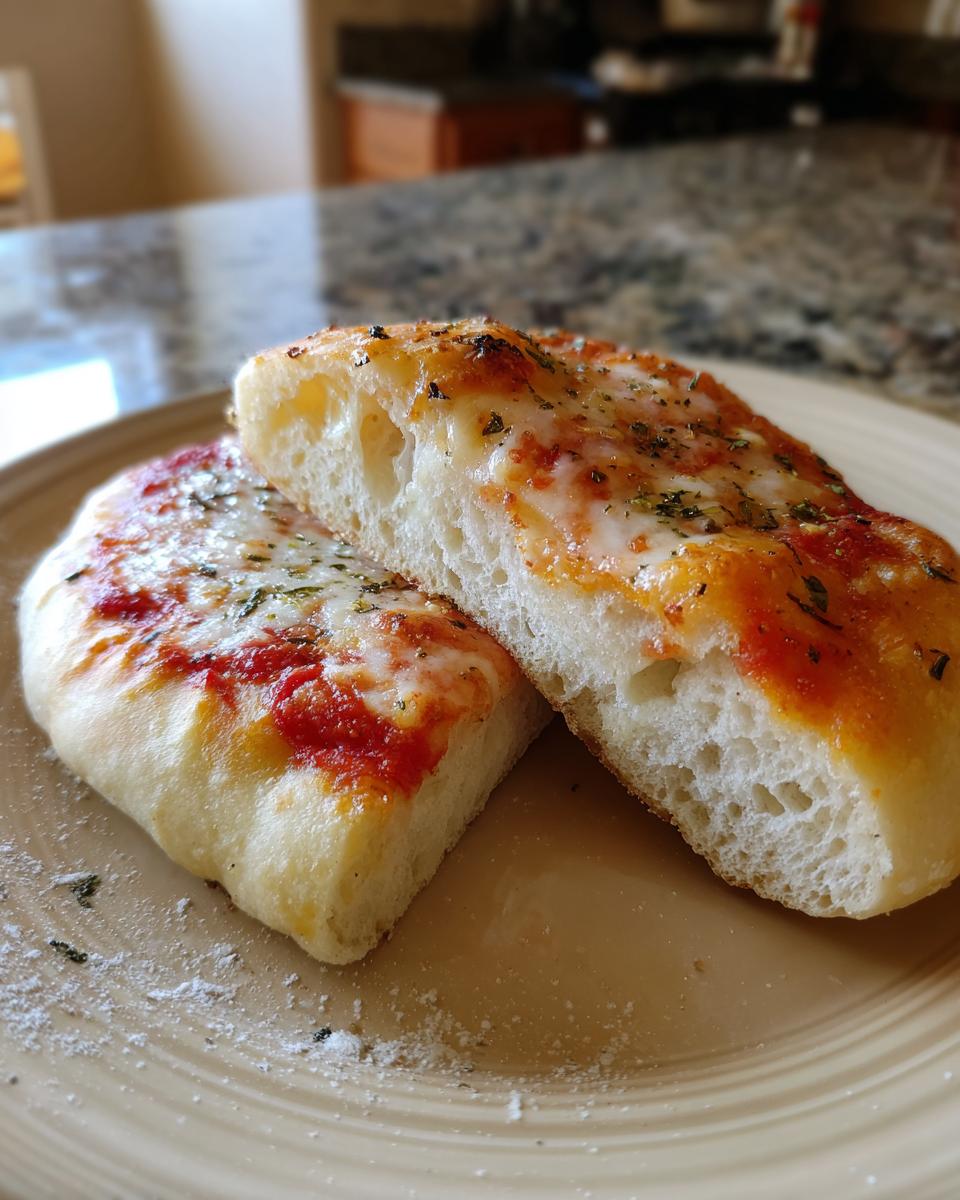
An easy homemade pizza dough that bakes soft inside with a crisp edge.
Ingredients
- 2 to 2 1/3 cups plain flour
- 2 1/4 teaspoons instant yeast
- 1 1/2 teaspoons sugar
- 3/4 teaspoon salt
- 1/4 teaspoon garlic powder
- 1/4 teaspoon dried basil
- 2 tablespoons olive oil
- 3/4 cup warm water
- 1 tablespoon olive oil (for shaping)
Instructions
- Mix 1 cup of flour with the yeast, sugar, salt, garlic powder, and dried basil in a large bowl.
- Add the warm water and 2 tablespoons of olive oil. Stir until smooth.
- Gradually mix in the remaining flour until you have a soft, slightly tacky dough that pulls away from the bowl.
- Shape the dough into a ball. Place it in an oiled bowl, turn to coat, cover, and leave in a warm place for 30 minutes until doubled in size.
- Preheat your oven to 220°C.
- Press the risen dough down and knead on a floured surface for 1 minute until smooth.
- Roll or stretch the dough into a 10 to 12 inch circle. Place it on a lined pizza tray.
- Brush the surface and edges with 1 tablespoon of olive oil and prick the centre lightly with a fork.
- Add your toppings and bake for 13 to 15 minutes until the crust is golden and crisp.
Notes
- For a crispier base, use bread flour instead of plain flour and bake on a preheated tray.
- Prep Time: 15 min
- Cook Time: 15 min
- Category: Main Course
- Method: Baking
- Cuisine: Italian