Is there anything better than a perfectly simple, deeply chocolaty cake? It’s the kind of bake that makes your kitchen smell like heaven and never, ever fails to please a crowd. This Mary Berry chocolate cake is exactly that—a rich, moist, and completely foolproof recipe that’s become my absolute go-to for birthdays, Sunday treats, and everything in between. I love that it captures Mary Berry’s signature no-fuss approach; you literally make the whole batter in one bowl, which means less washing up and more time to enjoy a cuppa while it bakes. It became a family favourite after my son’s fifth birthday party, where I needed something I could throw together without stress and that would turn out perfectly every single time. Trust me, this is the only chocolate cake recipe you’ll ever need.
Why You’ll Love This Mary Berry Chocolate Cake
Alright, let me tell you why this is about to become your new favourite bake. First up, it’s a one-bowl wonder. You don’t need a stand mixer or a mountain of washing up—just one big bowl and a whisk. It’s my kind of kitchen magic.
Then there’s the texture. Oh my goodness, it’s so incredibly moist and tender. That trick with the boiling water might seem odd, but it’s the secret to a soft crumb that stays that way for days.
The flavour is just pure, rich chocolate. It’s not overly sweet, and it’s decadent enough for a big celebration cake, but simple enough for a Tuesday afternoon slice with a cuppa.
And honestly, it’s foolproof. I’ve made this Mary Berry chocolate cake more times than I can count, and it’s never let me down. It’s the reliable friend of cake recipes, and everyone needs one of those.
Ingredients for Your Mary Berry Chocolate Cake
Gathering everything before you start is my number one rule for stress-free baking. You’ll be whisking it all in one bowl, so having your eggs at room temperature and your butter properly softened makes a world of difference to the texture. Trust me, it’s worth the extra five minutes of prep.
You really don’t need anything fancy here. Just make sure you’re using proper cocoa powder for that rich flavour—drinking chocolate won’t work! For more inspiration on using cocoa in healthier bakes, check out my healthy chocolate dessert ideas, fudgy brownie recipes, or even a collection of protein-packed chocolate treats.
- For the Cake:
- 2 cups plain flour (all-purpose)
- 2 cups caster sugar (superfine sugar works best)
- 3/4 cup unsweetened cocoa powder (not drinking chocolate!)
- 2 teaspoons baking powder
- 1 1/2 teaspoons baking soda
- 1 teaspoon salt
- 1 cup whole milk
- 1/2 cup vegetable oil
- 2 large eggs (at room temperature is ideal)
- 2 teaspoons vanilla extract
- 1 cup boiling water
- For the Chocolate Buttercream:
- 1 cup unsalted butter, softened
- 3 cups icing sugar (confectioners’ sugar)
- 1/2 cup unsweetened cocoa powder
- 2 tablespoons milk
- 1 teaspoon vanilla extract
How to Make Mary Berry Chocolate Cake: Step-by-Step
Okay, here’s my best tip: start with the oven. It sounds obvious, but it means your tins are ready to go the second that gorgeous batter is mixed, which helps the cake rise perfectly. And don’t panic when you add the boiling water—that thin, soupy batter is the secret to the most moist cake you’ve ever tasted.
Step 1: First things first, pop your oven on to 180°C (that’s 350°F). Grab your two 9-inch round cake tins and give them a really good greasing with a bit of butter or baking spray. Then, cut out circles of baking paper to line the bottoms. This little step is a lifesaver—it guarantees your cakes will slide out without a single crumb left behind.
Step 2: Now for the fun one-bowl part! Get your biggest mixing bowl and whisk together your dry ingredients: the plain flour, caster sugar, cocoa powder, baking powder, baking soda, and salt. You want to whisk this really well so everything, especially the baking agents, is evenly distributed. No one wants a bite of pure baking soda!
Step 3: Make a well in the centre of your dry mix and pour in the whole milk, vegetable oil, eggs, and vanilla extract. Use a whisk or a wooden spoon to mix it all together. It’ll look thick and fudgy at this point, which is exactly right.
Step 4: Here’s the magic step. Carefully measure out one cup of freshly boiled water and pour it into the bowl. Now, stir. The batter will instantly become very thin and liquid—almost like a chocolate milkshake. This is completely normal and, trust me, it’s what makes this Mary Berry chocolate cake so incredibly moist. Just stir until it’s smooth and combined.
Step 5: Divide that lovely batter evenly between your two prepared tins. I like to use a ladle or a jug to make sure I get a fair split. A little uneven is fine, but you want them to bake at the same rate.
Step 6: Slide the tins into the centre of your preheated oven and bake for 28 to un up to 32 minutes. Don’t open the door before 25 minutes! They’re done when the tops are springy to a gentle touch and a skewer or toothpick poked right into the middle comes out clean, maybe with a few moist crumbs, but no wet batter.
Step 7: This is crucial for preventing breakage: let the cakes cool in their tins, sitting on a wire rack, for 10 minutes exactly. Then, run a knife around the edge of each tin, place a rack on top, and flip them over. The cakes should release easily. Peel off the baking paper and let them cool completely on the rack before you even think about frosting. Rushing this will make your buttercream melt into a puddle!
Step 8: While the cakes cool, make your chocolate buttercream. Beat the softened butter in a bowl until it’s really pale and creamy. Sift in the icing sugar and cocoa powder—sifting prevents lumps, I promise it’s worth it—and beat it all together. It’ll look dry at first. Add the 2 tablespoons of milk and the vanilla, then beat again on a higher speed for a minute or two until it’s fluffy and dreamy.
Step 9: Time to assemble! Place one completely cool cake layer on your plate or board. Spread a generous amount of buttercream over the top with a palette knife or spatula. Carefully place the second layer on top. Now, frost the top and sides with the rest of your buttercream, swirling it however you like. I go for a simple, rustic look. 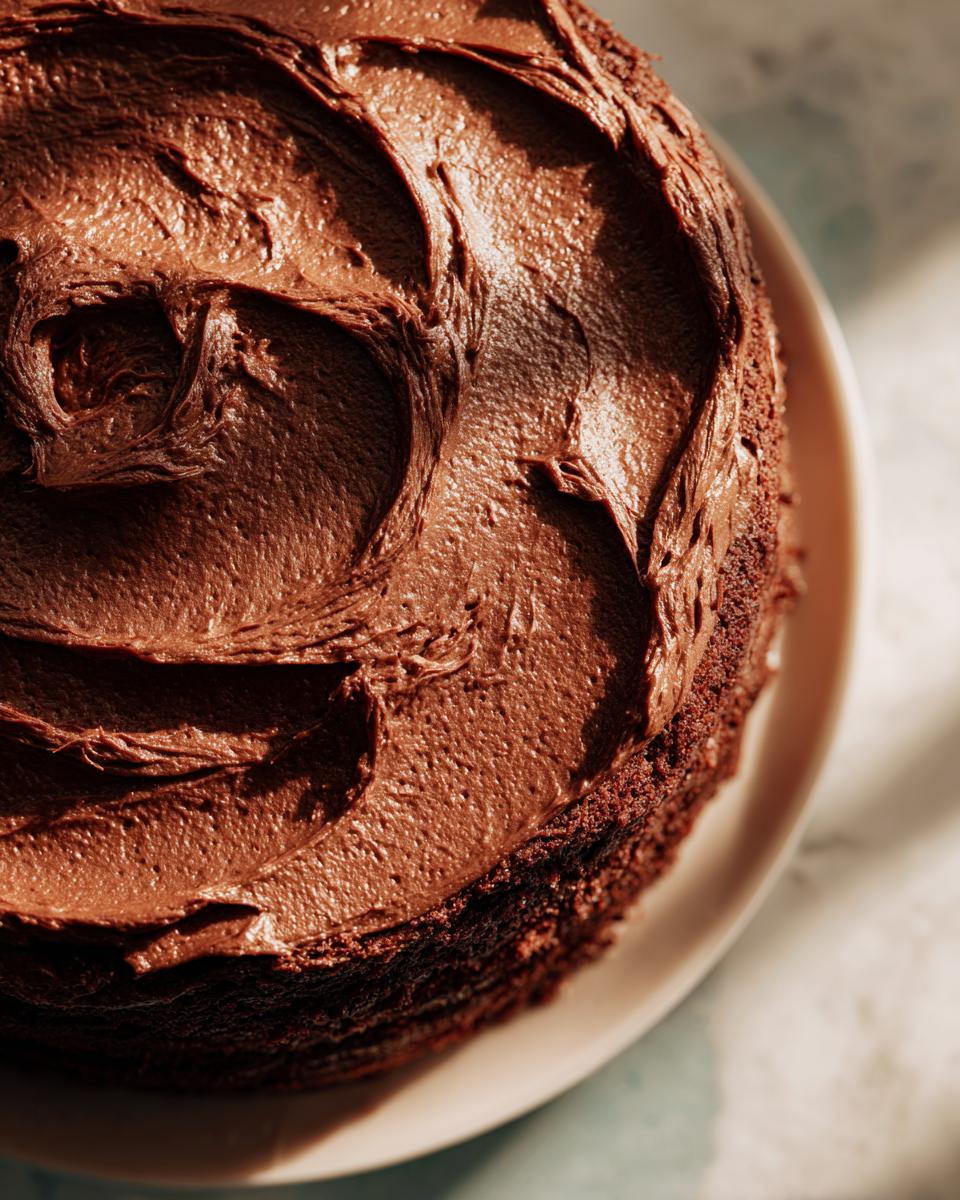 And there you have it—your beautiful, homemade Mary Berry chocolate cake is ready! If you fancy mixing things up, the same simple method works for all sorts of bakes, like my healthy protein dessert recipes when you want something a bit lighter.
What to Serve with Chocolate Cake
A slice of this cake is glorious on its own, but I love adding a little something on the side to make it feel extra special. These are my go-to pairings that always get a smile.
Fresh Berries: A handful of raspberries or strawberries cut through the richness beautifully. The tart, juicy burst with the chocolate is just perfect.
Vanilla Custard or Cream: Pouring over some warm custard or a dollop of lightly whipped cream is pure comfort. The vanilla complements the chocolate so well, making it feel like a proper pudding.
Coffee or a Strong Tea: Honestly, a proper cup of coffee alongside a slice is my favourite way to enjoy it. The bitterness balances the sweetness and turns it into a proper afternoon treat.
Storing and Freezing Your Mary Berry Chocolate Cake
This cake keeps beautifully, which is great because in my house, it rarely lasts more than a day! For the frosted cake, just pop a cake dome over it or cover it loosely with cling film and keep it at room temperature for up to 2 days. If your kitchen is warm, or you want to keep it longer, store it in the fridge for up to 4 days. Let it sit out for 30 minutes before serving to take the chill off—cold buttercream isn’t as tasty.
Now, for my favourite meal prep trick: you can freeze the unfrosted cake layers. Once they’re completely cool, wrap each one tightly in a layer of cling film, then a layer of foil. They’ll keep perfectly in the freezer for up to 3 months. Thaw them overnight at room temperature before you frost them. It means you can have a homemade Mary Berry chocolate cake ready for any surprise celebration with zero stress!
Mary Berry Chocolate Cake FAQs
I get asked these few questions all the time, so let’s clear them up right here. Don’t worry, they’re all easy fixes!
Can I make this Mary Berry chocolate cake in a different tin size? Absolutely! If you want a taller single-layer cake, a 9×13-inch rectangular tin works brilliantly. For cupcakes, this batter will make about 24—just bake them for 18-20 minutes. The key is to keep an eye on them and do the skewer test a few minutes earlier than the recipe says, as smaller tins bake faster.
Why is the batter so thin? Have I messed it up? You haven’t messed up at all, I promise! That thin, almost liquid batter is the whole secret. The boiling water “blooms” the cocoa powder, unlocking maximum chocolate flavour, and it creates an incredibly moist, soft crumb. It feels wrong, but it’s so, so right. Just pour it in and trust the process.
Can I use a different type of sugar? For the best texture, caster sugar is ideal because it dissolves so easily. If you only have granulated, it will still work, but you might notice a slightly grainier crumb. I wouldn’t recommend using all brown sugar as it can make the cake too heavy and moist. For more baking tips and gluten-free ideas, have a look at my gluten-free banana bread cookies or these pretty chocolate raspberry tartlets. You can also save this recipe and tons more on my Pinterest board for later! 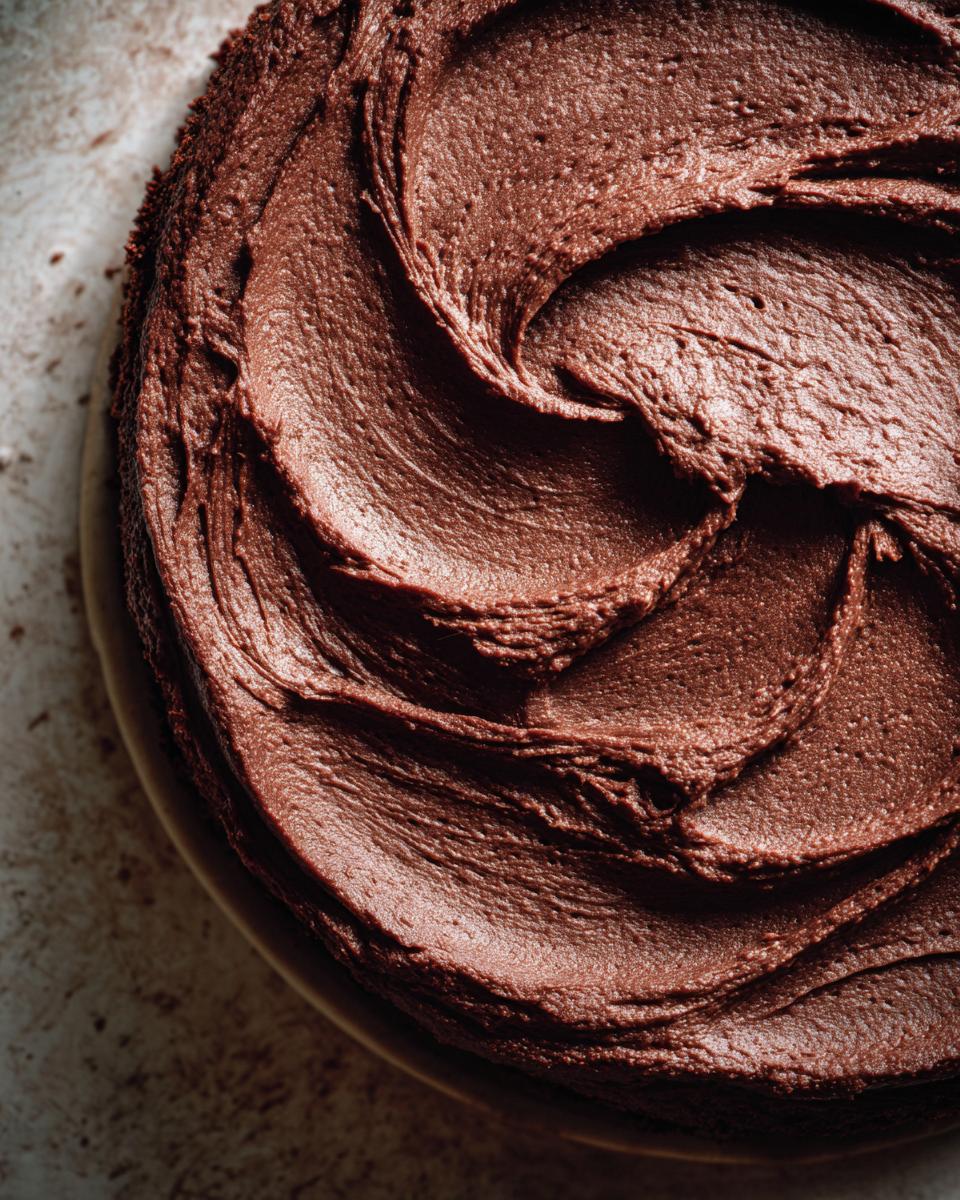
Nutritional Information (Estimate)
Just a quick little note on the nutrition side of things! The figures below are a rough estimate for one slice, based on using the exact ingredients listed and standard brands. It’s really important to remember that these values can change quite a bit depending on the specific cocoa powder, butter, or milk you use at home.
So, please treat this as a helpful guide rather than a precise calculation. Per serving, you’re looking at approximately 450 calories, 22g of fat, 60g of carbohydrates, 5g of protein, and 45g of sugar.
Before You Go
I really hope you give this lovely cake a go. It’s brought so much simple joy to my kitchen, and I’d love to hear if it does the same for yours. Pop a comment below to let me know how your bake turned out, or share a photo of your masterpiece. Happy baking!
Print
Mary Berry Chocolate Cake
- Total Time: 45 min
- Yield: 12 servings
- Diet: Vegetarian
Description
A rich, moist chocolate cake made simply in one bowl.
Ingredients
- 2 cups plain flour
- 2 cups caster sugar
- 3/4 cup unsweetened cocoa powder
- 2 teaspoons baking powder
- 1 1/2 teaspoons baking soda
- 1 teaspoon salt
- 1 cup whole milk
- 1/2 cup vegetable oil
- 2 large eggs
- 2 teaspoons vanilla extract
- 1 cup boiling water
- 1 cup unsalted butter, softened
- 3 cups icing sugar
- 1/2 cup unsweetened cocoa powder
- 2 tablespoons milk
- 1 teaspoon vanilla extract
Instructions
- Preheat your oven to 180°C. Grease two 9-inch round cake tins and line the bases with baking paper.
- In a large bowl, whisk together the flour, caster sugar, cocoa powder, baking powder, baking soda, and salt.
- Add the milk, vegetable oil, eggs, and vanilla extract. Mix until smooth.
- Pour in the boiling water and stir until the batter is thin and combined.
- Divide the batter evenly between the prepared tins.
- Bake for 28 to 32 minutes until a skewer inserted into the centre comes out clean.
- Cool the cakes in the tins for 10 minutes, then turn them out onto a rack to cool completely.
- For the buttercream, beat the softened butter until creamy. Add the icing sugar and cocoa powder and mix until smooth. Add the milk and vanilla and beat until fluffy.
- Spread buttercream over one cake layer, place the second layer on top, and frost the top and sides.
Notes
- The thin batter is key for a soft, moist cake. Do not be concerned by its consistency.
- Prep Time: 15 min
- Cook Time: 30 min
- Category: Dessert
- Method: Baking
- Cuisine: British