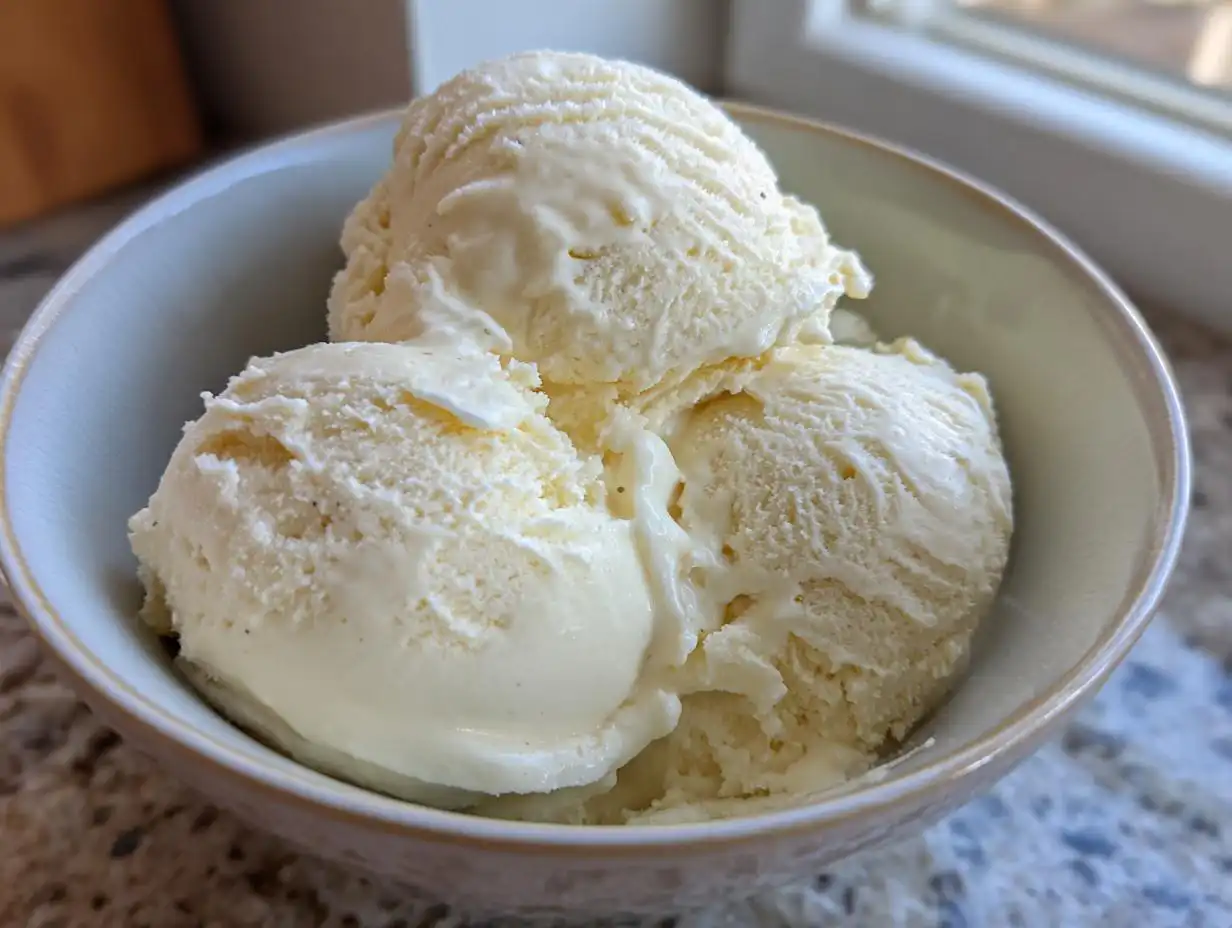
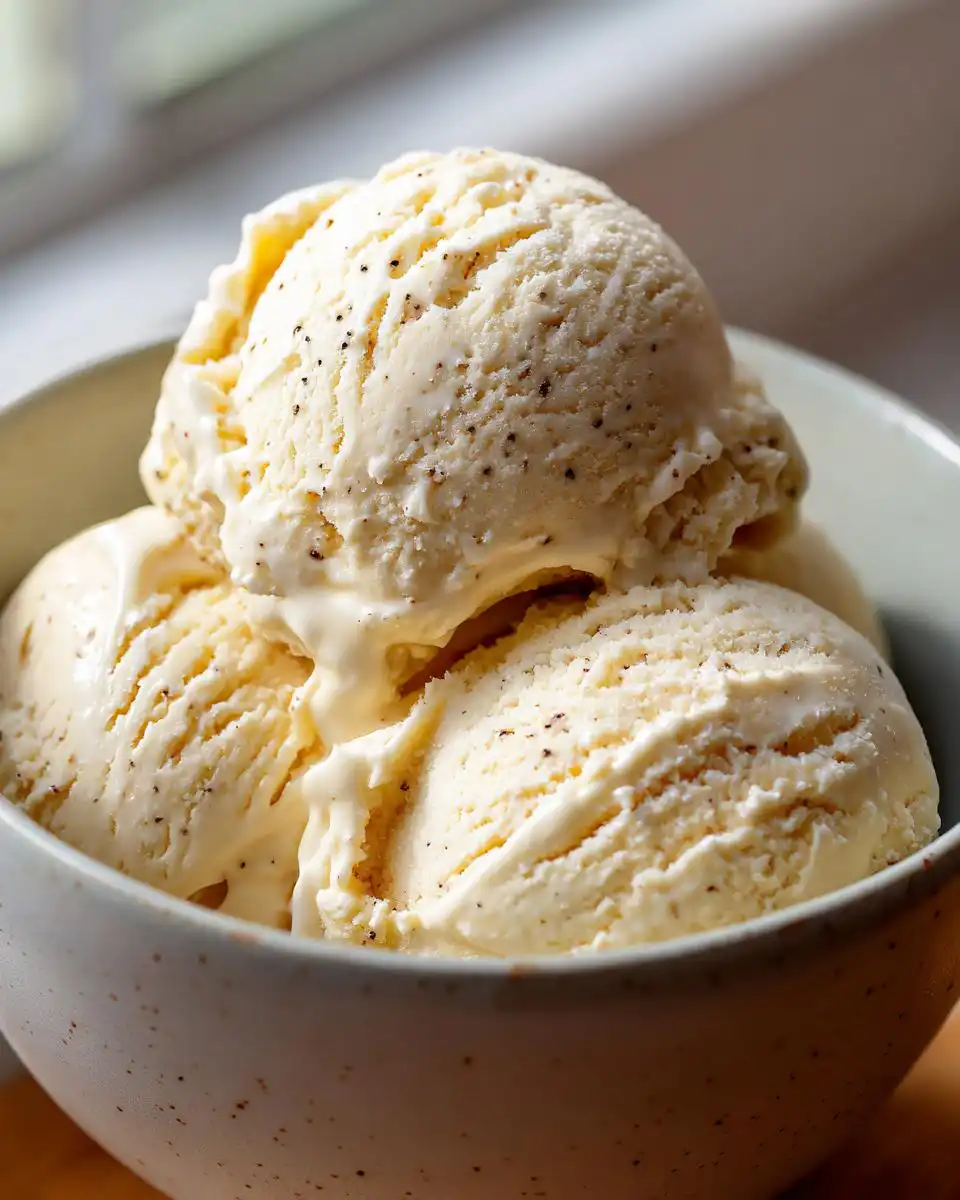
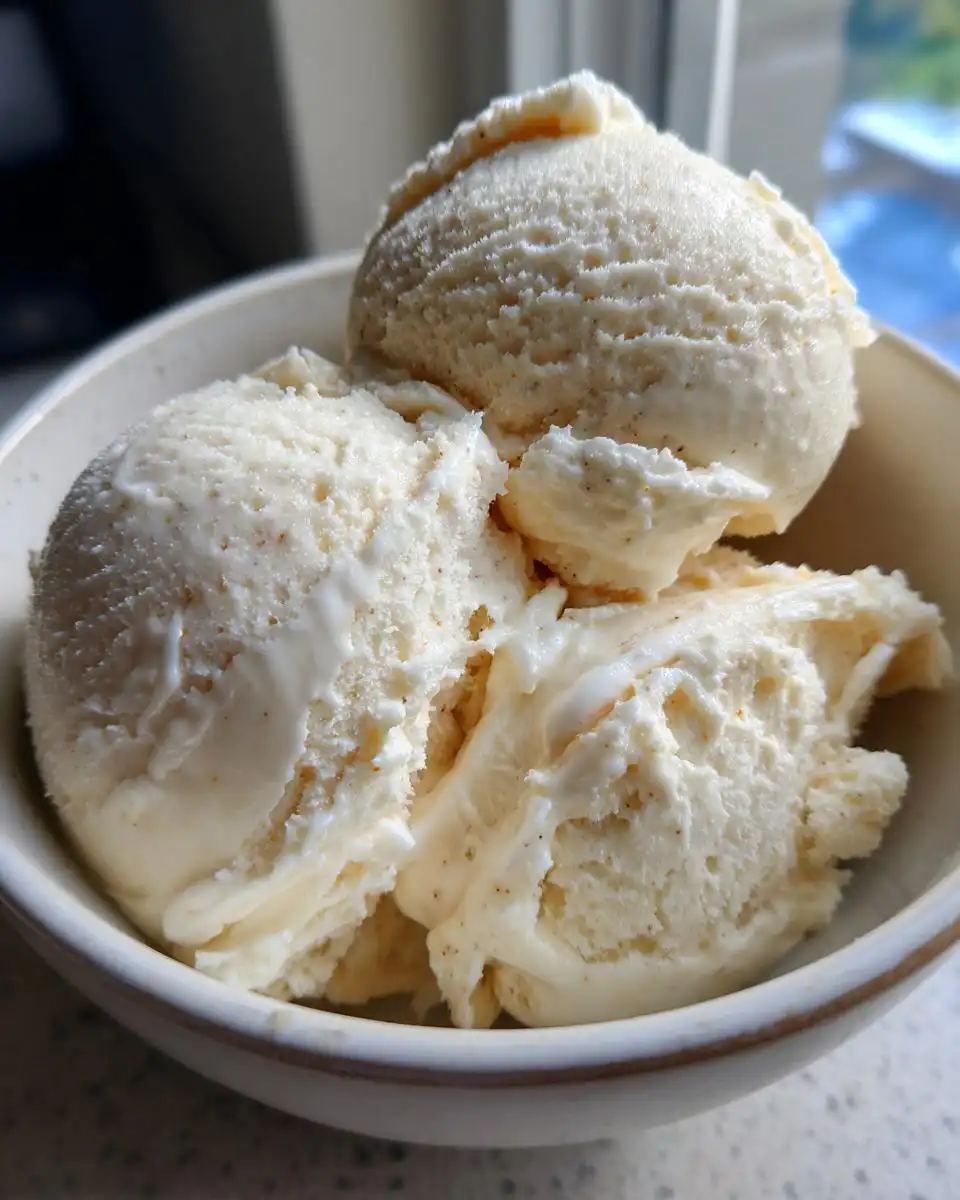
Okay, listen up, because I’m about to let you in on a little secret: you DO NOT need one of those fancy ice cream makers to get that ridiculously creamy, dreamy vanilla ice cream you’ve been craving! Seriously, my Easy No Machine Vanilla Ice Cream recipe is a game-changer. I remember the first time I whipped this up. It was a sweltering summer afternoon, and all I wanted was some ice cream, but the thought of pulling out and cleaning my machine felt like too much work. So, I tinkered, and boy, did it pay off! This stuff is SO simple, unbelievably delicious, and tastes like it came straight from a gourmet shop. With just a few pantry staples, you’ll be scooping up pure happiness in no time.
Why You’ll Love This Easy No Machine Vanilla Ice Cream
This recipe is a dream come true for so many reasons!
- It’s ridiculously easy – seriously, no blender or ice cream maker required!
- You only need a handful of common ingredients you probably already have.
- The texture is unbelievably creamy and smooth, just like the expensive stuff.
- That pure vanilla flavor is SO satisfying and pairs with everything.
- It’s the perfect base for all sorts of delicious toppings and mix-ins!
Ingredients for Your Easy No Machine Vanilla Ice Cream
Seriously, you won’t believe how few things you need for this magic! Just grab these from your kitchen, and you’re practically halfway there. Make sure your heavy cream is super cold – that’s key!
- 2 cups cold heavy whipping cream
- 1 can (14 ounces) sweetened condensed milk
- 2 teaspoons pure vanilla extract
- 1 whole vanilla bean, split lengthwise and seeds scraped out (use a sharp knife for this!)
- A tiny pinch of salt (just to balance the sweetness)
Step-by-Step Guide to Making Easy No Machine Vanilla Ice Cream
Alright, let’s get this creamy magic happening! Don’t worry, it’s seriously straightforward. The trick is having a nice, cold bowl to whip that cream.
Step 1: First things first, grab a large mixing bowl and your beaters for your electric mixer. Pop them into the freezer for about 10 to 15 minutes. This little step makes all the difference in getting nice, stiff peaks with your cream!
Step 2: Pour your cold heavy whipping cream into that super-chilled bowl. Now, beat it on medium-high speed. It usually takes about 3 to 5 minutes. You’re looking for soft peaks to form – you know, when you lift the beaters, the cream holds its shape but the tip curls over slightly.
Step 3: While your cream is chilling or you’re waiting for it to get to soft peaks, grab a separate medium bowl. Whisk together the sweetened condensed milk, pure vanilla extract, those lovely fresh seeds scraped from your vanilla bean, and just a pinch of salt. Give it a good whisk until everything is perfectly blended and smells amazing!
Step 4: Now for the delicate part, and this is where the creaminess comes from! Take about one-third of your whipped cream and gently fold it into the condensed milk mixture using a spatula. Don’t get too aggressive here; we want to lighten up the condensed milk without deflating all that precious air we whipped into the cream. Think of it more like gently lifting and folding. For more dessert ideas check out our healthy muffin dessert recipes with fruit.
Step 5: Add the rest of the whipped cream on top of the condensed milk mixture. Continue to fold it in *very* gently with your spatula. Keep going until there are no more streaks of condensed milk visible and it’s all one glorious, homogenous mixture. This is where you want to be patient to keep that light, airy texture.
Step 6: Pour your beautiful ice cream mixture into a loaf pan or any freezer-safe container you have on hand. Smooth the top out evenly with your spatula so it freezes uniformly. It’s going to look so good, you’ll want to dive right in, but wait!
Step 7: Cover the container tightly with plastic wrap or a lid. You want it to be airtight to prevent any freezer burn. Pop it into the freezer for at least 6 hours, but honestly, overnight is even better. We want it completely firm and ready to scoop!
Step 8: When you’re ready for some ice cream goodness, take the container out of the freezer and let it sit at room temperature for about 5 minutes. This just softens it up slightly, making it way easier to scoop. Then, scoop away and enjoy your absolutely amazing homemade vanilla ice cream!
Serving Suggestions for Your Easy No Machine Vanilla Ice Cream
This dreamy vanilla ice cream is perfect as is, but let’s be honest, it’s also an absolute superstar when you add a little something extra. Think of it as your blank canvas for topping heaven!
You could drizzle it with some rich, warm chocolate sauce – who doesn’t love that classic combo? Or maybe pile on some fresh, sweet berries for a burst of color and a hint of tartness. If you’re feeling a bit more decadent, a sprinkle of chopped nuts or a swirl of gooey caramel sauce takes it to a whole new level. It’s a fantastic base for more elaborate desserts too; check out these healthy brownie recipes or explore some healthy no-bake dessert recipes that would be just divine alongside a scoop!
Storing and Reheating Your Easy No Machine Vanilla Ice Cream
Okay, so you’ve made this glorious homemade ice cream – high five! Now, let’s talk about keeping it perfect. The best way to store it is in an airtight container. I usually use a loaf pan and just press some parchment paper or plastic wrap right onto the surface of the ice cream before putting the lid on. This helps prevent those annoying ice crystals from forming. It stays delicious like this for about 2 weeks in the freezer, though honestly, it never lasts that long in my house! Since it’s ice cream, you don’t need to reheat it, but letting it sit on the counter for about 5 minutes before scooping makes it nice and easy to serve.
Frequently Asked Questions about Easy No Machine Vanilla Ice Cream
Got questions about this super simple ice cream? I’ve got answers!
Can I use a different type of milk instead of heavy cream?
Oh, I really don’t recommend swapping out the heavy cream for other milks. The high fat content in heavy cream is what makes this ice cream so incredibly creamy and rich without needing an ice cream maker to churn it. Lighter milks just don’t have enough fat, and you’ll end up with a much icier, less satisfying result. Trust me, the cream is worth it!
Why is my ice cream icy instead of creamy?
If your ice cream turned out a bit icy, there are a couple of common culprits! First, make sure your ingredients, especially the heavy cream and the bowl/beaters, were super cold to start with. That helps create light, fluffy whipped cream, which is key. Also, folding too vigorously can deflate that airy texture. Go slow and gentle when you fold! Lastly, giving it a stir once about halfway through the freezing time can help break up any ice crystals that start to form, leading to an even smoother finish. For dessert inspiration, check out my healthy protein dessert recipes for sweet cravings!
How can I add other flavors to this vanilla base?
This vanilla base is practically begging for flavor adventures! It’s super easy to customize. You can fold in some chocolate chips, chunks of cookie dough, swirls of fruit puree, a drizzle of caramel or hot fudge right before you freeze it. For a chocolate version, maybe reduce the vanilla extract slightly and whisk in a few tablespoons of cocoa powder into the condensed milk mixture. Get creative!
Enjoy Your Homemade Delight!
See? Was that not the easiest, most satisfying ice cream you’ve ever made? This Easy No Machine Vanilla Ice Cream is proof that you don’t need fancy gadgets to create something truly delicious. I hope you give it a whirl and love it as much as my family does! If you try it out, please let me know in the comments how it turned out – I love hearing from you! And hey, while you’re here, check out this amazing air fryer snack. Don’t forget to follow us on Pinterest for more simple, delicious recipes!
Print
Easy No Machine Vanilla Ice Cream
- Total Time: 6 hours 15 minutes
- Yield: 8 servings
- Diet: Vegetarian
Description
Creamy homemade vanilla ice cream made without an ice cream maker using simple ingredients.
Ingredients
- 2 cups heavy whipping cream
- 1 can sweetened condensed milk (14 ounces)
- 2 teaspoons pure vanilla extract
- 1 whole vanilla bean, split and scraped
- Pinch of salt
Instructions
- Chill a large mixing bowl and beaters in the freezer for 10 to 15 minutes.
- Pour heavy whipping cream into the chilled bowl and beat on medium-high speed for 3 to 5 minutes until soft peaks form.
- In a separate bowl, whisk together sweetened condensed milk, vanilla extract, vanilla bean seeds, and salt until fully combined.
- Gently fold one third of the whipped cream into the condensed milk mixture.
- Fold in the remaining whipped cream carefully using a spatula until no streaks remain.
- Transfer the mixture into a loaf pan or freezer-safe container and smooth the top evenly.
- Cover tightly and freeze for at least 6 hours or until firm.
- Let sit at room temperature for 5 minutes before scooping.
Notes
- Folding gently keeps the ice cream light and creamy.
- Stirring once halfway through freezing can help reduce ice crystals for an even smoother texture.
- Prep Time: 15 minutes
- Cook Time: 6 hours
- Category: Dessert
- Method: Freezing
- Cuisine: American