
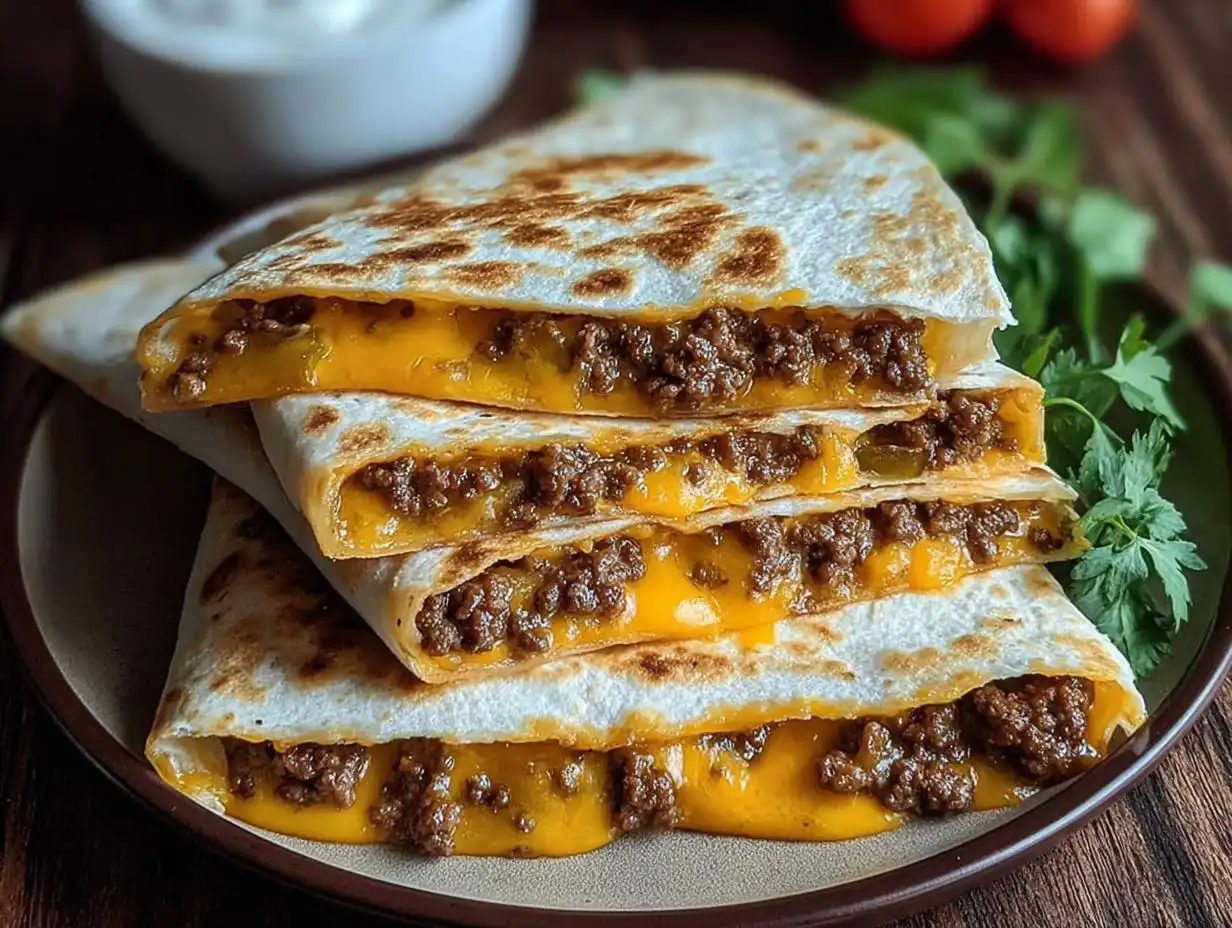
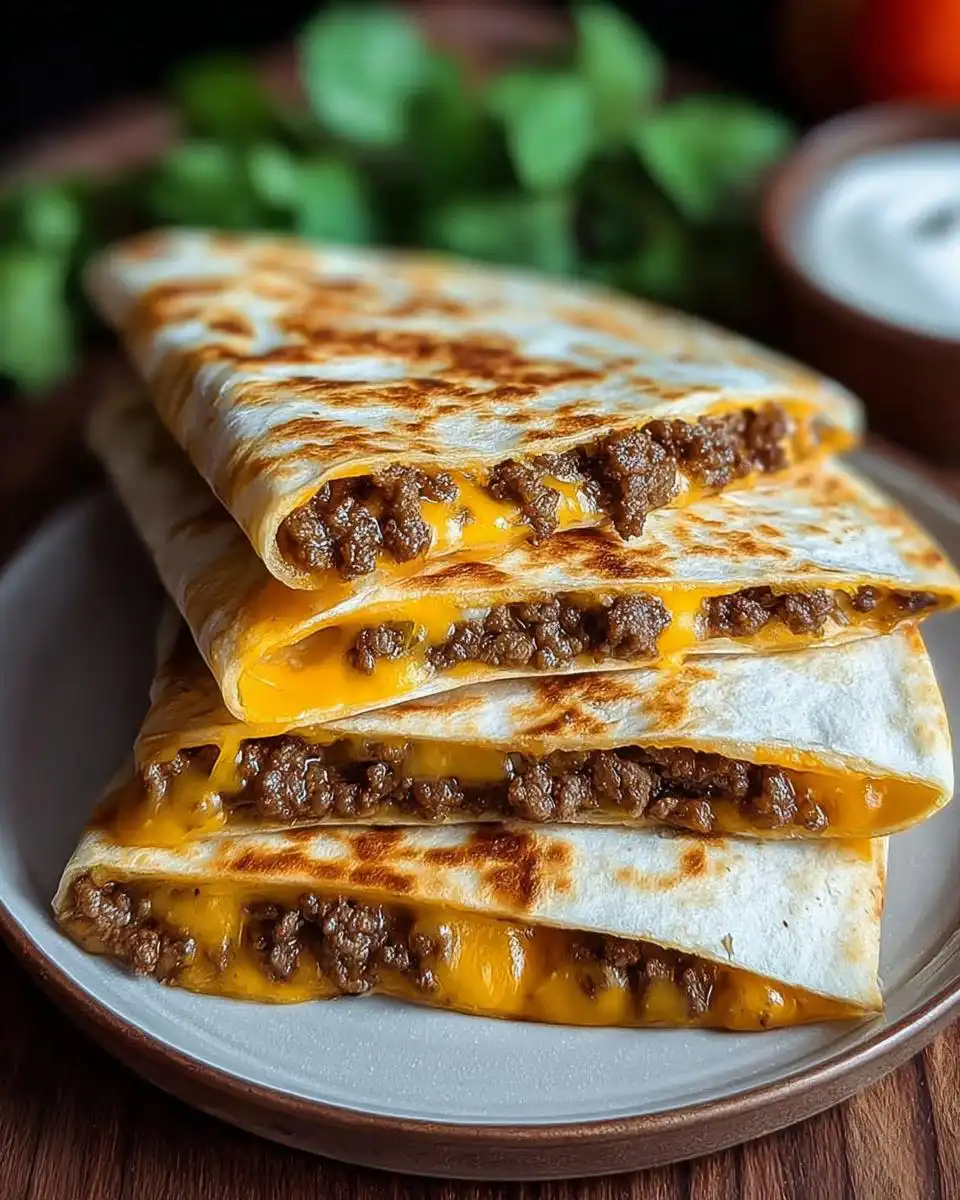
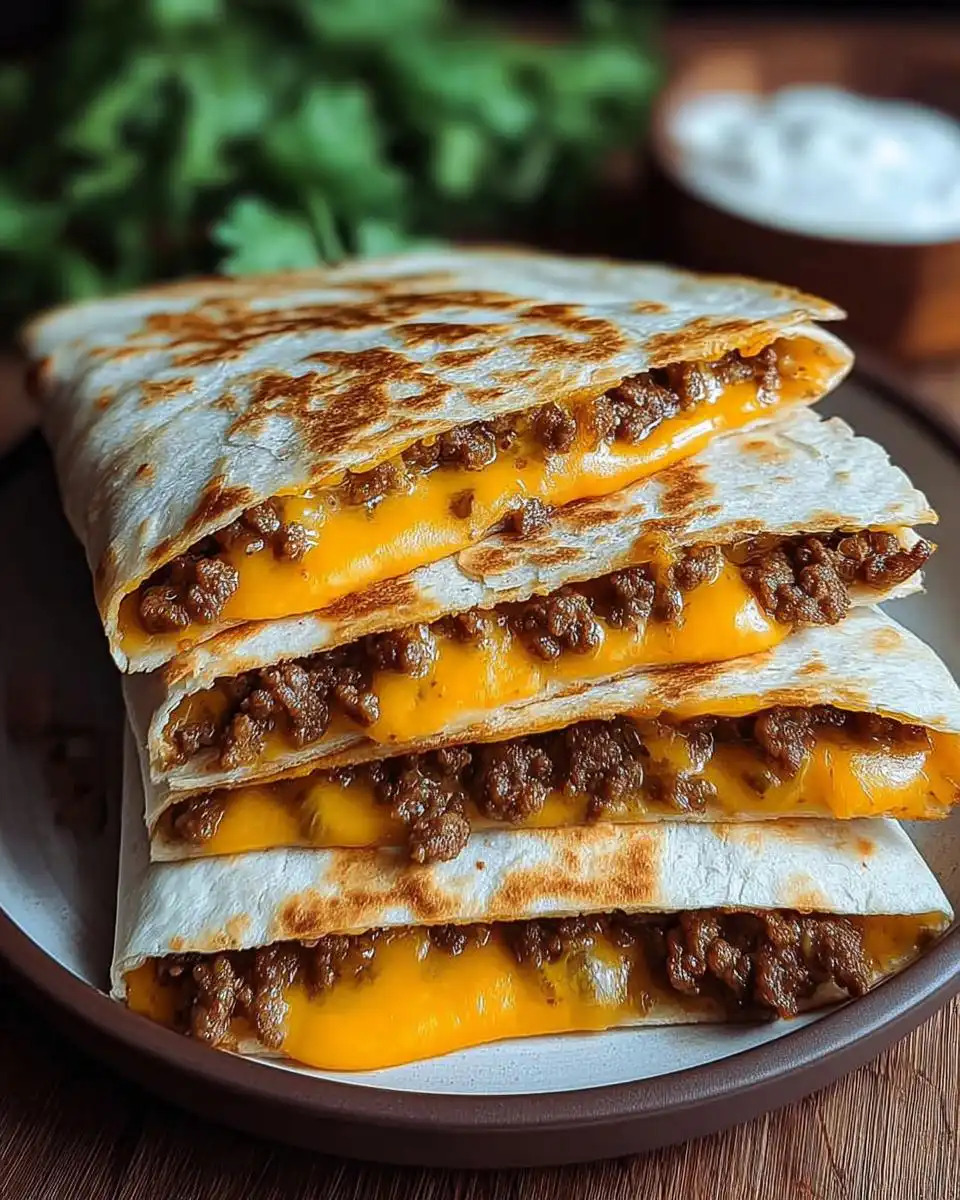
Okay, confession time: my go-to weeknight dinner hero is officially crowned! Picture this: all the savory, cheesy goodness of a classic smashburger, but wrapped up in a crispy, golden quesadilla. Yep, I’m talking about Smashburger Quesadillas! These bad boys came into my life during a particularly frantic Tuesday evening when takeout just wasn’t an option and my family was hovering, demanding food *now*. I needed something seriously fast, outrageously delicious, and satisfying, and BAM! This idea sparked. The best part? You get that incredible smashed burger taste and texture, plus all the gooey cheese you could dream of, in about 20 minutes flat. Seriously, who knew comfort food could be this quick and easy?
Why You’ll Love These Smashburger Quesadillas
Trust me, these aren’t your average weeknight meal! They’re a game-changer because:
- They’re lightning-fast – seriously, 20 minutes from start to finish!
- They are SO easy, even your most culinarily-challenged family member could whip them up.
- That perfect combo of crispy beef, melty cheese, and tangy pickles? Pure magic!
- Plus, with 20g of protein per serving, they’ll actually keep you full and satisfied.
Ingredients for Your Smashburger Quesadillas
Here’s what you’ll need for these flavor-packed quesadillas. Don’t skimp on the pickles – they’re key!
- 1 pound ground beef
- 1/2 teaspoon salt
- 1/2 teaspoon black pepper
- 1/2 teaspoon garlic powder
- 4 large flour tortillas
- 1 cup shredded cheddar cheese
- 1/4 cup diced onions
- 1/4 cup sliced pickles
Step-by-Step Instructions for Perfect Smashburger Quesadillas
Okay, here’s where the magic happens! My secret weapon for getting that super crisp, flavorful beef layer is cooking it right on the tortilla. It sounds a little wild, but trust me, it’s a total game-changer. Get your skillet nice and hot, and we’ll get these going!
Step 1: First things first, get a big skillet (your favorite non-stick one works best here!) heating over medium-high heat. You want it nice and hot before anything goes in, so give it a few minutes to warm up properly.
Step 2: Now, take your flour tortillas and lay them out flat. Grab your ground beef and just press a thin layer of it onto *one half* of each tortilla. Don’t go too thick, or it won’t cook evenly. Think of it like an open-faced burger situation.
Step 3: Season that beautiful beef! Sprinkle it evenly with your salt, black pepper, and garlic powder. I like to use my fingertips to gently press the seasonings in, but a fork works too. Be generous – this is where a lot of the flavor comes from!
Step 4: Carefully place the tortilla, beef-side down, onto your hot skillet. Let it sizzle away for about 2 to 3 minutes. You’re looking for that beef to get nice and browned and cooked through. It should reach an internal temperature of 160°F to be safe. This direct contact with the hot pan is what gives you that amazing crispy crust – it’s like a mini smashburger right on the tortilla!
Step 5: Time to flip! Gently turn the tortilla over so the cooked beef side is now facing up. Now, immediately sprinkle your shredded cheddar cheese right over that hot, cooked beef. It’ll start to melt from the residual heat, which is exactly what we want.
Step 6: Add your toppings! Scatter the finely diced onions and pickle slices over the melted cheese. This is where you get that classic smashburger tang and crunch.
Step 7: Fold it up! Carefully fold the empty half of the tortilla over the filling, creating a half-moon shape. Give it a gentle press with your spatula to help everything stick together.
Step 8: Get it golden! Cook for another 2 to 3 minutes, flipping it once halfway through. Keep an eye on it – you want both sides of the tortilla to be beautifully golden brown and crispy, and that cheese all gooey and melted. If your skillet is getting a bit dry, you can add a tiny splash of oil, but usually, the fat from the beef is enough.
Step 9: And just like that, you’re done! Carefully slide your perfect Smashburger Quesadilla onto a cutting board, let it rest for just a minute (so the cheese doesn’t ooze out everywhere when you slice it), then cut it into wedges. Serve them warm and prepare for happy sighs from everyone around the table. For another super quick and flavorful ground beef meal idea, check out this healthy beef stir-fry!
Serving Suggestions for Your Smashburger Quesadillas
These Smashburger Quesadillas are pretty darn satisfying on their own, but sometimes you just want that little something extra, right? Here are a few of my favorite things to serve alongside them to make it a full-on feast.
Crispy Avocado Salad: Seriously, you can’t go wrong with a fresh salad. This creamy avocado salad adds a cool, refreshing counterpoint to the warm, cheesy quesadilla. It’s packed with healthy fats and extra goodness.
Zesty Lime Vinaigrette: Keep it simple with a light, bright salad dressed in a homemade vinaigrette. My favorite is a simple zesty lime vinaigrette. It really cuts through the richness and adds a nice zing!
Quick Pickle Spears: If you’re a big pickle fan like me, why not add a side of extra dill pickle spears? They’re perfect for scooping up any loose bits and provide that extra tangy crunch.
Storing and Reheating Your Smashburger Quesadillas
Leftovers? What leftovers? Ha! But seriously, if you manage to have any of these amazing Smashburger Quesadillas hanging around, here’s how to keep ’em tasting their best.
To store, let them cool completely, then wrap them individually in plastic wrap or foil and pop them into an airtight container in the fridge. They’ll be good for about 2 days, but honestly, they’re best eaten fresh!
Reheating is key to getting back that glorious crispiness. Skip the microwave – it’ll just make them soggy, and nobody wants that! Your best bet is to pop them into a toaster oven or a regular oven preheated to around 375°F (190°C) for about 5-7 minutes, or until they’re heated through and the tortilla is crispy again. My personal hack? A quick stint in a dry pan over medium heat does wonders too, just flip them until they’re golden and melty once more!
Frequently Asked Questions About Smashburger Quesadillas
Got questions? I’ve got answers! These Smashburger Quesadillas are pretty straightforward, but here are a few things people often ask.
Can I use different types of cheese?
Absolutely! While cheddar is my go-to for that classic smashburger vibe, feel free to swap it out. Monterey Jack, a Mexican blend, or even a sharp provolone would be totally delicious. Just make sure it’s a good melting cheese!
What other toppings can I add?
Oh, the possibilities are endless! If you’re looking for more smashburger inspired additions, try some caramelized onions, a little bit of mustard mixed into the beef before cooking, or even a drizzle of ketchup or a special sauce on top. For a more quesadilla-style twist, jalapeños or a bit of salsa work wonders. Just kind of depends on what you’re craving that day!
How do I make them spicier?
Easy peasy! If you like a little heat, try adding a pinch of cayenne pepper or red pepper flakes to the ground beef when you season it. You could also toss in some finely diced jalapeños with the onions, or serve them with your favorite hot sauce for a fiery kick. For another easy ground beef recipe with some punch, check out this ground beef taco bowl!
Before You Go
So there you have it – Smashburger Quesadillas that are crazy delicious and ridiculously fast. I really hope you give these a try this week; they’re honestly a lifesaver on busy nights! If you do make them, please swing back and drop a comment below to let me know what you think. And hey, if you loved this, you might also adore my healthy beef and broccoli recipes! Don’t forget to share the love and pin this recipe to Pinterest!
Print
Smashburger Quesadillas
- Total Time: 20 min
- Yield: 4 quesadillas
- Diet: Protein
Description
Crispy cheesy smashburger quesadillas with seasoned beef, ready in 20 minutes.
Ingredients
- 1 pound ground beef
- 1/2 teaspoon salt
- 1/2 teaspoon black pepper
- 1/2 teaspoon garlic powder
- 4 large flour tortillas
- 1 cup shredded cheddar cheese
- 1/4 cup diced onions
- 1/4 cup sliced pickles
Instructions
- Heat a large skillet over medium-high heat until hot.
- Place each tortilla flat and press a thin layer of ground beef onto one half of each tortilla.
- Season the beef evenly with salt, black pepper, and garlic powder.
- Place the tortilla beef-side down onto the hot skillet and cook for 2 to 3 minutes until the beef is browned and cooked through to 160°F.
- Flip the tortilla and sprinkle shredded cheese over the cooked beef.
- Add diced onions and sliced pickles on top of the cheese.
- Fold the tortilla in half and press gently.
- Cook for another 2 to 3 minutes, flipping once, until the tortilla is golden brown and crispy and the cheese is melted.
- Remove from heat, slice into wedges, and serve warm.
Notes
- Cooking the beef directly on the tortilla creates a crispy seared layer that locks in flavor and keeps the quesadilla juicy.
- Prep Time: 10 min
- Cook Time: 10 min
- Category: Dinner
- Method: Skillet
- Cuisine: American


