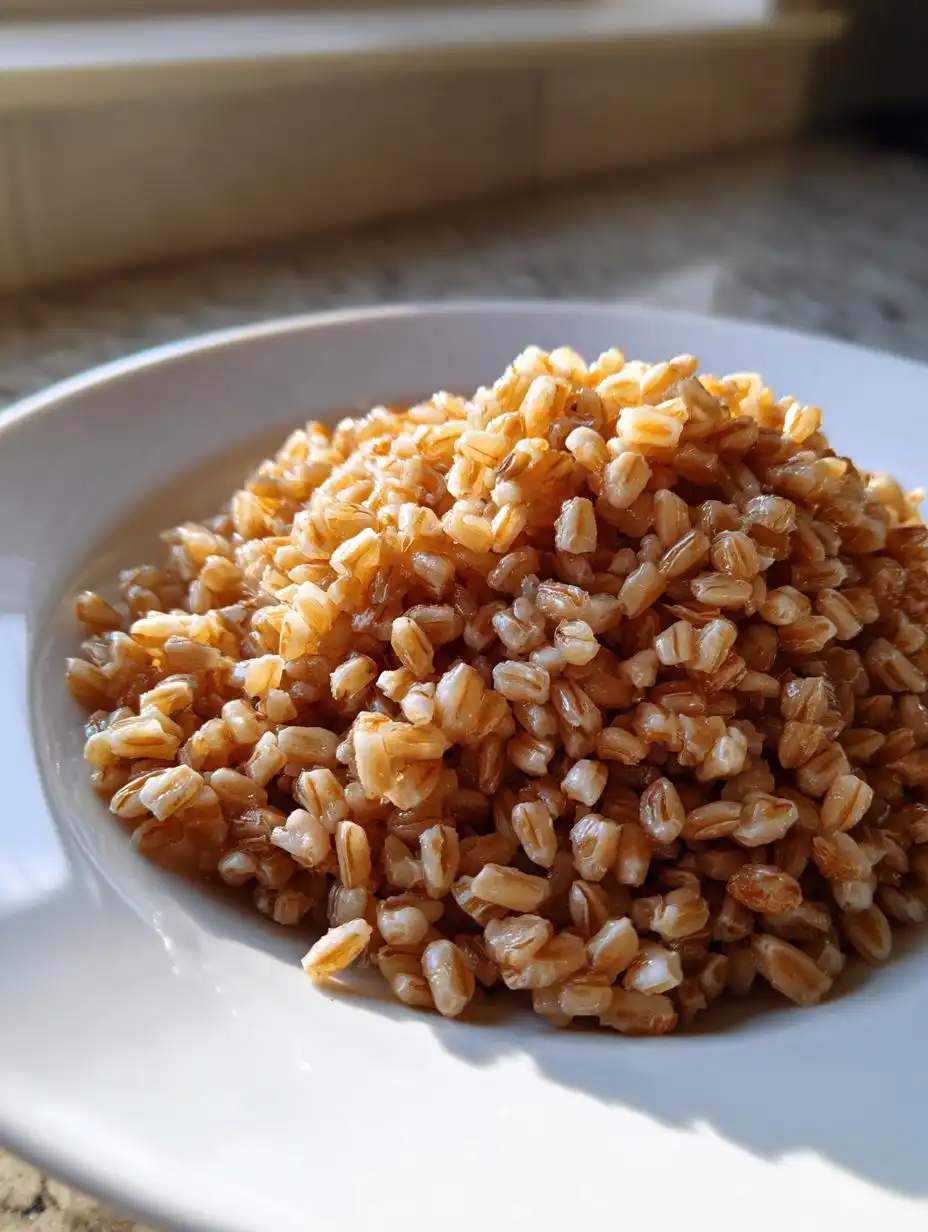
If you’re tired of boring lunches but don’t have time for complicated cooking every day, listen up! I’ve spent years trying every grain under the sun for my weekly meal prep, and I’m telling you, farro is the absolute champion. It has that fantastic, nutty chew that rice just can’t touch. This Simple Farro Meal Prep Guide for Healthy Weekly Bowls is my foolproof method for getting that perfect, slightly toothsome texture every single time. We’re tapping into those simple, fresh flavors of the Mediterranean diet here, and trust me, once you master this base grain, your whole week gets easier!
Essential Equipment for Your Simple Farro Meal Prep Guide for Healthy Weekly Bowls
You don’t need a fancy kitchen setup for this, thank goodness! Honestly, cooking farro is super straightforward if you have the right basics on hand. Having these few items ready makes following this Simple Farro Meal Prep Guide for Healthy Weekly Bowls a breeze. No specialized gear required, just the kitchen basics!
Tools Needed for Cooking Pearled Farro
- A medium saucepan with a tight-fitting lid
- A fine mesh strainer for rinsing
- A measuring cup set
- A wooden spoon or fork for fluffing
Ingredients for the Simple Farro Meal Prep Guide for Healthy Weekly Bowls
The beauty of this grain base is how few ingredients it needs! When you’re making a big batch for your Simple Farro Meal Prep Guide for Healthy Weekly Bowls, quality really matters, especially with the olive oil. Since there aren’t many flavors competing, make sure your salt is good, and don’t skip the oil—it helps keep the grains separated while they cook. For the exact amounts you need for four servings, just check out the table right below here. It’s all laid out clearly!

Ingredient List and Preparation Table
| Ingredient | Amount | Preparation |
|---|---|---|
| Dry Pearled Farro | 1 cup | Measure dry |
| Water | 3 cups | Measure cold |
| Salt | 1/4 teaspoon | Measure precisely |
| Olive Oil | 1 teaspoon | Measure |
Expert Tips for Perfect Farro Texture
I’ve made batches of farro that turned out like glue more times than I care to admit when I first started prepping grains. It’s frustrating, right? You want that satisfying, slightly nutty bite, not mush! The secret to avoiding that sticky mess comes down to two main things: how you prep the grain before it hits the water, and then how long you let it simmer. Don’t just dump it in the pot and walk away; farro needs a little respect!
Why Rinsing Farro Matters
This step is non-negotiable, even when you’re rushing through your meal prep. Pearled farro has a bit of starch coating its surface, kind of like pasta does. If you skip rinsing, that surface starch dissolves into the cooking water and turns your whole batch into a gummy, sticky mess. I always use my fine mesh strainer and give it a good, long rinse under cold water until the water running off the bottom looks clear. That ensures you get distinct, separate grains later on.
Achieving the Right Chewiness
This is where experience kicks in. Pearled farro cooks much faster than whole farro, which is why it’s my go-to for quick meal prep. You are aiming for *al dente* here—tender, yes, but with a definite little resistance when you bite down. If you cook it for the full 30 minutes without checking, you’ve gone too far. Start tasting around the 25-minute mark. If it’s still crunchy in the middle, keep going. If it’s soft all the way through, pull it off the heat immediately! That slight chewiness holds up so much better when you reheat it later in the week.
Step-by-Step Instructions for Your Simple Farro Meal Prep Guide for Healthy Weekly Bowls
Okay, let’s get this grain cooked! This is the part where we turn those hard little kernels into the perfect base for your entire week of healthy eating. Follow these steps exactly, and you’ll nail this Simple Farro Meal Prep Guide for Healthy Weekly Bowls. Don’t rush the heat changes—that’s important!
Initial Preparation and Combining Ingredients
First things first, grab your fine mesh strainer. You need to rinse that 1 cup of dry pearled farro really well under cold running water. Seriously, rinse until the water isn’t cloudy anymore; that gets rid of the excess starch we talked about. Once it’s drained, pour that rinsed farro right into your medium saucepan. Now, add your 3 cups of water, the quarter teaspoon of salt, and that teaspoon of olive oil. The oil is our secret weapon here for keeping things from sticking together!
Cooking the Farro to Tender Perfection
Put the saucepan over medium-high heat. You want to bring this mixture up to a rolling boil—watch it carefully because it can bubble over fast! As soon as you see those big, active bubbles starting across the top, immediately turn the heat way, way down. We aren’t boiling it anymore; we are going to let it simmer gently. Put that tight-fitting lid on the pot. Now, set your timer for 25 minutes. I usually check at 25 minutes, but don’t lift the lid too often! If it still tastes a bit hard, cover it back up and let it go for another 5 minutes, max. Total cook time is usually between 25 and 30 minutes.
Resting and Finishing the Cooked Farro
When the farro tastes perfectly tender but still has that satisfying chew—that’s when you kill the heat! Turn the burner off completely, but leave the lid on tight. Let it rest right there on the burner for exactly 5 minutes. This resting period lets the grains absorb any last bits of liquid and firms up that texture beautifully. After the 5 minutes are up, take the lid off, and grab your fork. Gently run the fork through the cooked farro to fluff it up. Now it’s ready to cool down before you store it for your Simple Farro Meal Prep Guide for Healthy Weekly Bowls!
Making Your Simple Farro Meal Prep Guide for Healthy Weekly Bowls Versatile
Now that you have a big container of perfectly cooked, chewy farro, your weekly meals are basically done! This grain is such a fantastic, hearty base for so many different flavor profiles, which is why I love it for my Simple Farro Meal Prep Guide for Healthy Weekly Bowls. It takes on whatever dressings or spices you throw at it, making leftovers exciting throughout the week. It’s way more interesting than plain rice, and it keeps you feeling full for hours!
Quick Assembly Ideas for Bowls
You just need to add a few colorful things to your pre-cooked farro to make a complete meal. Don’t overthink it; just grab what’s easy:
- The Greek Bowl: Mix the farro with some chopped cucumber, cherry tomatoes, feta cheese, Kalamata olives, and a drizzle of lemon vinaigrette. So fresh!
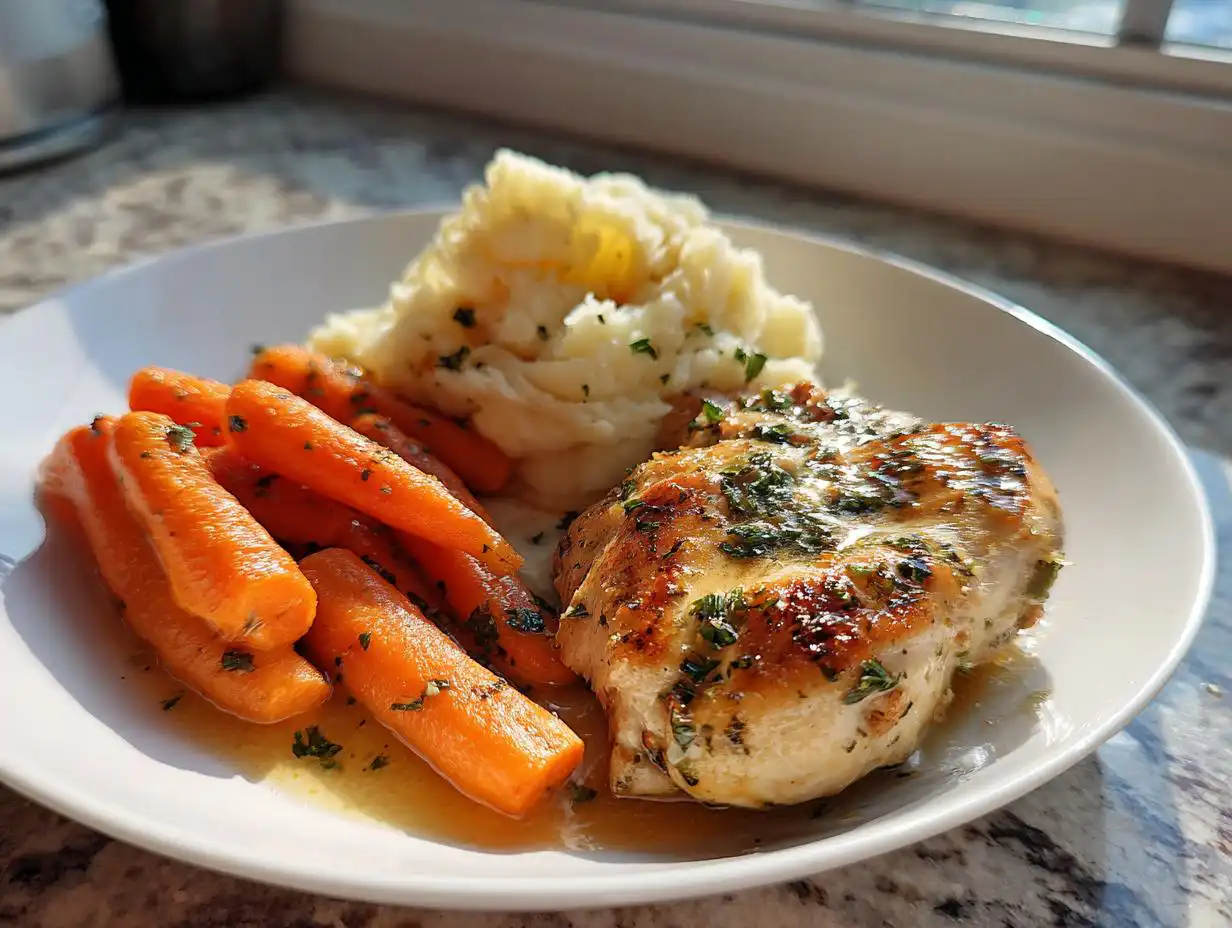
- The Protein Boost: Toss the farro with pre-cooked rotisserie chicken (or chickpeas for vegetarian days), some roasted sweet potatoes, and a spoonful of pesto. If you need some quick dinner inspiration, check out this healthy chicken orzo skillet.
- The Herbaceous Salad: Combine the cooled farro with lots of fresh parsley and mint, some toasted pine nuts, and a light olive oil dressing. It tastes amazing cold straight from the fridge!
Storing and Reheating Your Cooked Farro
Getting that perfect texture during cooking is only half the battle; you have to store it right so it doesn’t turn into a brick in the fridge! My Simple Farro Meal Prep Guide for Healthy Weekly Bowls relies on proper cooling before storage to keep the grains separate and ready to eat later. Don’t just scoop the hot grain into a container and seal it up—that traps steam and encourages sogginess.
Best Practices for Refrigeration
You absolutely must let the farro cool down completely before you put a lid on anything. I usually spread my batch out on a clean baking sheet for about 20 minutes to help it release that residual heat quickly. Once it’s room temperature, transfer it to your airtight meal prep containers. When stored correctly, this cooked farro base for your Simple Farro Meal Prep Guide for Healthy Weekly Bowls stays perfectly good for almost a week! For more meal prep ideas, you can follow our Pinterest board.
Storage and Reheating Reference Table
| Storage Duration | Reheating Method |
|---|---|
| Up to 5 Days Refrigerated | Microwave with a splash of water |
| Up to 3 Months Frozen | Thaw overnight, then microwave |
Frequently Asked Questions About Your Simple Farro Meal Prep Guide for Healthy Weekly Bowls
I get so many questions about this recipe once people start using it for their weekly batch cooking. It really is that simple, but grains can be tricky sometimes! I’ve collected the things readers ask most often when they are trying to follow my Simple Farro Meal Prep Guide for Healthy Weekly Bowls for the first time. Don’t worry if your first batch isn’t 100% perfect; it still tastes great!
Can I Use Whole Grain Farro Instead of Pearled Farro
That’s a great question! Yes, you absolutely can, but you have to adjust your timing and water ratio because whole grain farro hasn’t had the bran removed. If you swap it in, you’ll need about 4 cups of water instead of 3, and you need to plan on simmering it for much longer—usually 40 to 50 minutes. Whole farro will be chewier and take a lot more patience, but it’s healthier! Stick to pearled farro if you are following this quick Simple Farro Meal Prep Guide for Healthy Weekly Bowls, though. If you are looking for other quick grain bases, check out this guide on a simple healthy orzo weeknight meal.
How Long Does Cooked Farro Last When Meal Prepped
If you let it cool completely before sealing it up in a good airtight container, the cooked pearled farro will last beautifully for up to 5 days in the refrigerator. That’s why this recipe is perfect for planning meals from Monday through Friday! If you find yourself with extra, you can freeze it in smaller portions, and it lasts about three months, though I usually use mine within the week. You can read more insights on our Medium page.
Sharing Your Simple Farro Meal Prep Guide for Healthy Weekly Bowls Success
Now you have the power to conquer your lunch game all week long! I’m so excited for you to see how easy it is to build healthy meals once you have this chewy, nutty grain base ready to go. It really changes everything!
Rate and Review Your Results
When you try out this Simple Farro Meal Prep Guide for Healthy Weekly Bowls, please come back and tell me how it went! I want to know what delicious toppings you ended up using in your bowls. Did you stick to the Mediterranean style, or did you jazz it up with something totally different? Let me know your favorite combinations in the comments below!
Print
Master 1 Simple Farro Meal Prep Guide Today
- Total Time: 35 minutes
- Yield: 4 servings
Description
Follow this simple guide to cook tender, chewy farro perfect for weekly meal preparation. It is a healthy, Mediterranean-inspired whole grain for bowls and salads.
Ingredients
- 1 cup dry pearled farro
- 3 cups water
- 1 quarter teaspoon salt
- 1 teaspoon olive oil
Instructions
- Rinse the farro under cold running water in a fine mesh strainer. Drain well.
- In a medium saucepan combine farro, water, salt, and olive oil.
- Bring to a boil over medium high heat.
- Once boiling, reduce heat to a gentle simmer. Cover and cook for 25 to 30 minutes until the farro is tender but still slightly chewy.
- Drain any excess liquid if needed.
- Let the farro rest for 5 minutes, then fluff with a fork before serving or storing.
Notes
- Allow farro to cool completely before storing in airtight containers.
- Refrigerate for up to 5 days.
- Use in Mediterranean bowls, salads, stuffed vegetables, or as a base for high protein dinners.
- Prep Time: 5 minutes
- Cook Time: 30 minutes