If you’ve ever craved the smell of fresh yeast bread but couldn’t face the hours of kneading and rising, then listen up! My 5-Minute Bread Recipe is about to change your weeknight dinner game forever. I’m Jordan Bell, and I live right here in Asheville, NC. I know what it’s like to want comfort food but also need results fast.
When I started my journey losing 80 pounds, I thought I had to give up everything wonderful about Southern cooking. That just wasn’t going to work for me! So, I started the Easy Detox Recipes blog to prove that you can have incredible flavor without the heavy baggage. This bread is the absolute perfect example of that philosophy—it’s simple, satisfying, and so much cleaner than anything store-bought.
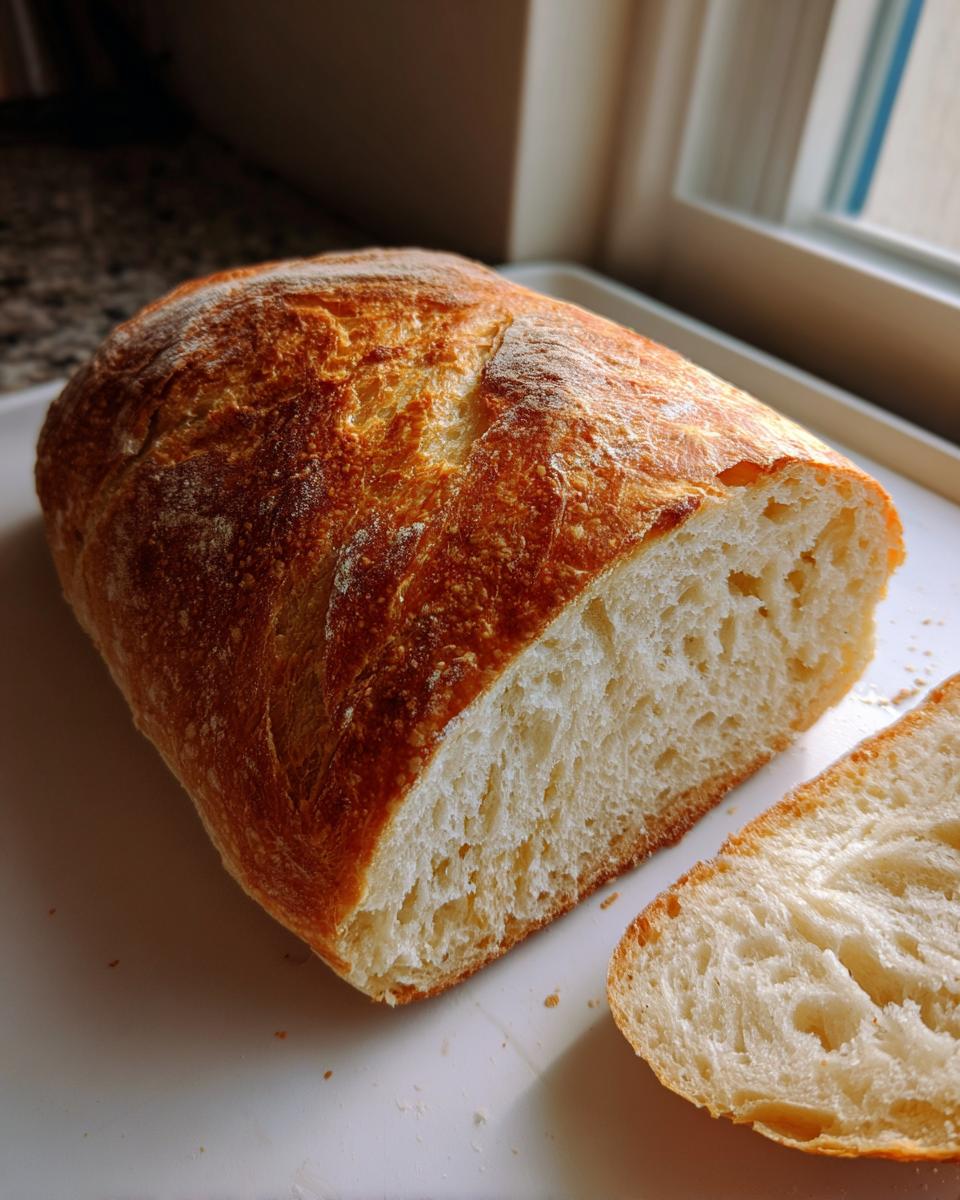
Honestly, I used to think yeast bread was reserved for weekend projects. Nope! This recipe proves you can have that warm, crusty loaf on the table with almost no effort. It’s the kind of bread that makes you feel like you’ve accomplished something huge, even though you barely did anything!
Gathering Ingredients for Your 5-Minute Bread Recipe
Okay, listen closely because this is where the magic starts—and it starts fast! We are making a 5-Minute Bread Recipe here, so we need everything measured out and ready to go before we even touch the bowl. Don’t try to measure while stirring; trust me, that leads to a sticky mess! We only need four things, but getting the measurements exactly right makes a huge difference in the final texture.
You’ll notice there’s no kneading required. That’s the beauty of this quick method! Just grab your measuring cups and let’s get these simple components together.
| Ingredient | Amount |
|---|---|
| All-Purpose Flour | 3 cups |
| Instant Yeast | 2 teaspoons |
| Salt | 1 teaspoon |
| Warm Water | 1 1/2 cups |
Essential Components for Quick Yeast Bread
The absolute non-negotiable item here is the instant yeast. If you use active dry yeast, you’ll have to proof it first, which completely defeats the purpose of our 5-minute prep time! Instant yeast goes right into the dry ingredients because it doesn’t need that warm water bath to wake up. It gets happy just sitting there waiting for the warm water to activate it all at once. Keep your salt separate until you mix the flour and yeast—just a little habit I picked up!
Mastering the Preparation Steps for This 5-Minute Bread Recipe
This is where we prove that you don’t need hours to make wonderful bread. Seriously, this whole hands-on part takes about ten minutes total, including the tiny rest period. Follow these steps exactly, and you’ll have that perfect crusty loaf without breaking a sweat. Remember, the key to the 5-Minute Bread Recipe isn’t just speed; it’s about getting the dough right before it rests.
Combining Dry Ingredients and Forming the Dough
First things first: don’t skip mixing the dry bits together! In a big bowl—and I mean really big, because this dough gets shaggy fast—whisk your 3 cups of flour, 2 teaspoons of instant yeast, and 1 teaspoon of salt until they look totally uniform. If you dump the water in now, you risk pockets of pure salt or yeast, and nobody wants that! Once that’s done, slowly pour in your 1 1/2 cups of warm water while you stir with a wooden spoon. Keep stirring until it all comes together into one sticky mass. It won’t look like nice kneading dough yet; it’s supposed to be super wet and a little messy.
The Critical 5-Minute Rest Period in Your 5-Minute Bread Recipe
This is the most important part of the 5-Minute Bread Recipe! As soon as you have that shaggy dough, cover the whole bowl with a clean kitchen towel. Now, you let it sit for just five minutes. While that dough is getting acquainted with itself, crank your oven up to 425 degrees Fahrenheit. You want it screaming hot when the dough is ready. Five minutes is all the time the instant yeast needs to start working its magic without any kneading required from you. Don’t let it sit longer than five minutes, or the texture will change!
Shaping and Baking the Quick Homemade Bread
Once those five minutes are up, dust your counter lightly—and I mean lightly!—and dump that sticky dough out. Don’t panic about the stickiness; that’s normal! Gently fold the edges toward the center a few times, just enough to make a rough ball. Tuck those edges underneath so the seam is on the bottom, and set it on your parchment-lined baking sheet. Use a sharp knife to score the top with a couple of shallow cuts—this helps it expand nicely. Pop it straight into that hot oven for about 30 to 35 minutes. When you take it out, give the bottom a hearty tap. If it sounds hollow, you nailed it!
Tips for Success with Your 5-Minute Bread Recipe
I want everyone who tries my 5-Minute Bread Recipe to have a perfect crusty loaf, so let me share the little secrets I learned the hard way. The absolute biggest hurdle people hit is thinking their dough is wrong because it’s so sticky. You need to fight the urge to add more flour when you transfer it to the counter! If you dump in cup after cup of flour to make it manageable, you’ll end up with a dense, dry brick instead of light, quick bread. Just embrace the stickiness during the shaping stage.
Remember what I said about the yeast? You absolutely must use instant yeast here. If you grab active dry, you’re adding five extra minutes just to mix water and yeast, and frankly, that ruins the whole concept of the 5-Minute Bread Recipe. It’s designed around that fast-acting yeast getting activated by the warm water all at once. If you want to see more of my favorite quick recipes, check out my posts on Medium!
Finally, when you think it’s done, use your ear! The best indicator for this quick bread isn’t just the color; it’s the sound. Pull that loaf out after 30 minutes and tap the bottom firmly. If it sounds nice and hollow, it’s ready to cool. That beautiful sound means the inside is cooked through perfectly.
Frequently Asked Questions About 5-Minute Bread Recipe Results
I get so many messages when folks try out this quick bread for the first time! It’s amazing how much people enjoy having fresh yeast bread without the commitment. Here are the biggest questions I hear about getting the best results from the 5-Minute Bread Recipe.
Q1. My dough felt way too sticky after the 5-minute rest. Did I mess up?
Nope, you’re right on track! That wet, sticky dough is exactly what we want for this recipe. It’s a no-knead approach, so the dough relies on that high water content to steam itself into a nice crusty loaf while baking. Resist the urge to add extra flour when you shape it! Just use a little flour on your hands or counter to keep it from sticking to you, but keep the dough itself wet.
Q2. Can I use whole wheat flour in this 5-Minute Bread Recipe?
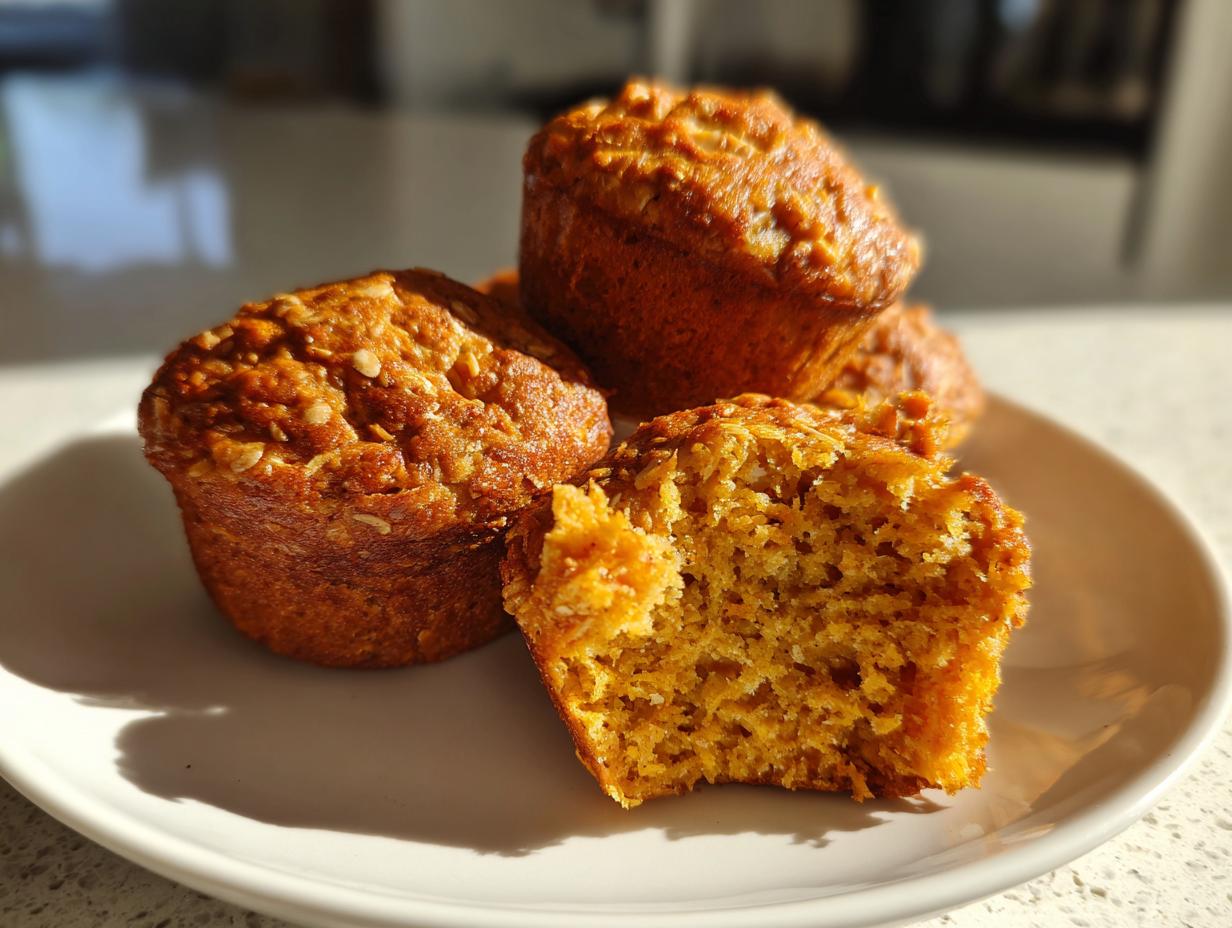
You definitely can try, but you have to know it changes the texture quite a bit. Whole wheat doesn’t absorb water the same way as white flour, and it has less gluten structure. If you swap it all out, your loaf might turn out a bit heavier. If you want to experiment, I’d suggest replacing only half the all-purpose flour with whole wheat to start. Keep that instant yeast handy, though! Maybe try it alongside my pumpkin banana bread sometime.
Q3. Why does the recipe say to only rest for exactly 5 minutes?
That 5-minute window is crucial for our quick bread success! It gives the instant yeast just enough time to get going and start producing those bubbles we need for rise, but it stops short of developing too much structure. If you let it sit for 30 minutes or an hour, you’ll end up with a denser texture because the gluten starts developing too much without kneading. Stick to five minutes, preheat that oven, and watch the magic happen!
Q4. How do I know if my quick homemade bread is actually done baking?
Color is good—we want golden brown—but sound is better. Once the baking time is up, carefully take the loaf out of the pan (or off the sheet) and tap the bottom firmly with your knuckles. If you hear a deep, hollow sound, it means the moisture inside has turned to steam and cooked the center perfectly. If it sounds dull, give it five more minutes in the heat!
Storing and Reheating Your Easy Homemade Bread
Even though this loaf disappears fast, sometimes you end up with a heel or two leftover. Since this is a simple yeast bread without a lot of added fats or preservatives, it’s best enjoyed within a couple of days. Don’t wrap it up tightly when it’s still warm—that traps steam and makes the crust soggy, which is a tragedy for any homemade bread! Let it cool completely on a wire rack before you even think about putting it away.
For short-term storage, just wrap the cooled loaf loosely in a clean kitchen towel and keep it on the counter. If you need it to last longer, slicing it first makes reheating much easier later on. This bread reheats like a dream, bringing back that fresh-from-the-oven crust! You can find more storage tips on my Pinterest boards.
| Storage Method | Duration | Reheating Tip |
|---|---|---|
| Counter (Loosely wrapped) | 1-2 days | Quick toast or 5 min in a 350°F oven |
| Freezer (Airtight bag) | Up to 2 months | Thaw on counter, then reheat as above |
Understanding the Nutrition of Your 5-Minute Bread Recipe
Now, I always tell folks who follow my clean eating approach that nutrition labels are tricky, especially when you’re baking at home! Since we are making this 5-Minute Bread Recipe right in our own kitchens, these numbers are just solid estimates based on using standard all-purpose flour. What you use—like the exact type of salt or minor water variations—can shift things slightly.
Don’t worry too much about perfect counts, though! The joy here is knowing you’ve made a super simple yeast bread with just four ingredients, avoiding all those strange additives you find in store-bought loaves. It’s comfort food that supports your goals!
| Nutrient | Estimated Value (Per Slice) |
|---|---|
| Calories | Approx. 150 |
| Carbohydrates | Approx. 31g |
| Protein | Approx. 4g |
| Fat | Low |
Share Your Quick Bread Experience
I absolutely live to hear when you all try this bread! Seriously, nothing makes my day more than knowing my 5-Minute Bread Recipe saved your dinner plans. Did it come out crusty? Did you manage not to touch the sticky dough too much? Head down to the comments below and tell me all about it! I love seeing your successes with this easy homemade bread!
Print
Amazing 5-Minute Bread Recipe Triumph
- Total Time: 40 minutes
- Yield: 1 loaf 1x
- Diet: N/A
Description
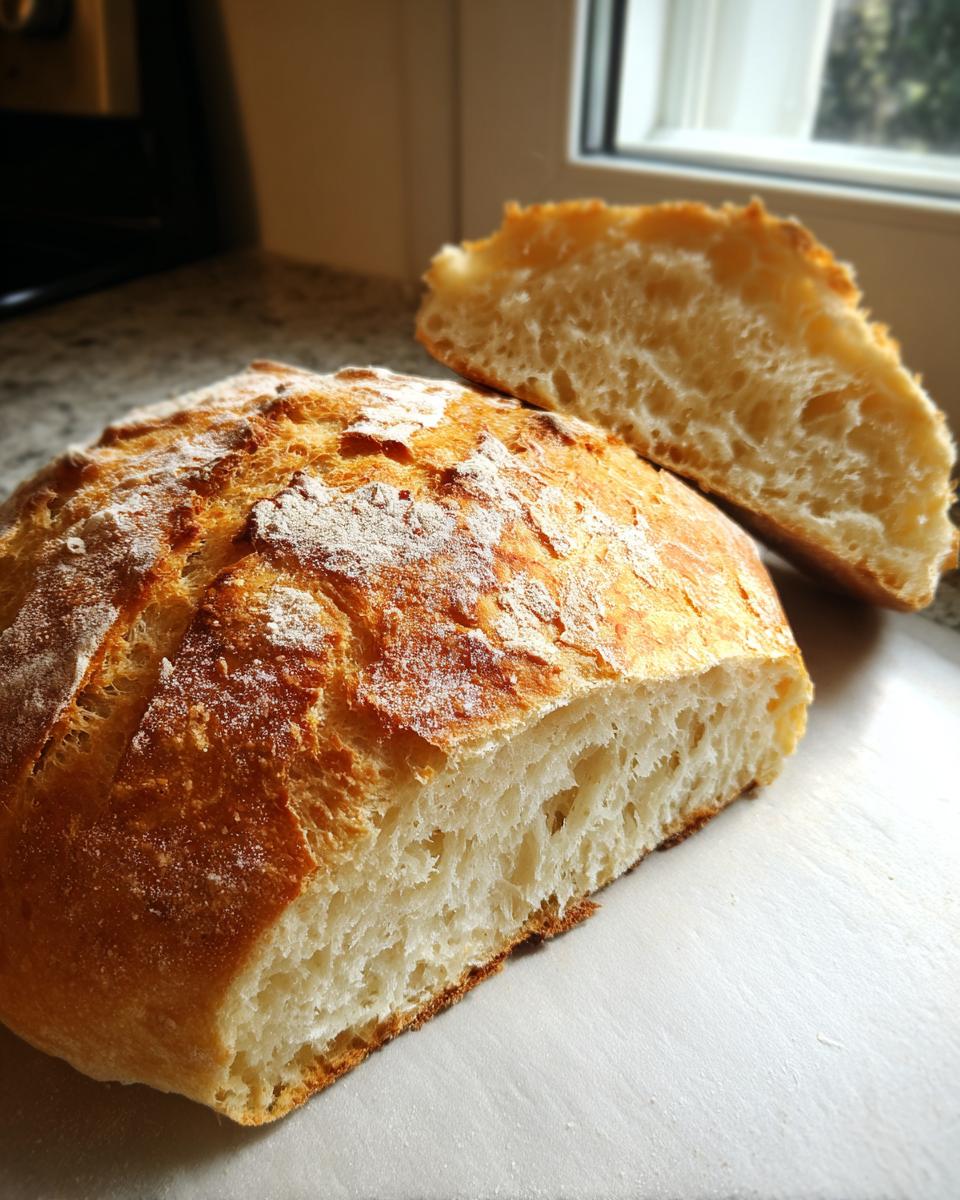
This 5-Minute Bread Recipe delivers fresh, homemade bread with minimal waiting time. You mix the dough, let it rest briefly, shape it, and bake for a quick, satisfying loaf.
Ingredients
- 3 cups all-purpose flour
- 2 teaspoons instant yeast
- 1 teaspoon salt
- 1 ½ cups warm water
Instructions
- In a large mixing bowl, combine the flour, instant yeast, and salt. Mix well.
- Gradually add the warm water to the dry ingredients. Stir until a sticky dough forms.
- Cover the bowl with a clean kitchen towel and let the dough rest for 5 minutes.
- Preheat your oven to 425°F (220°C) while the dough is resting.
- After the resting period, transfer the dough to a lightly floured surface.
- Shape the dough into a loaf by gently folding the edges towards the center and tucking them in. Place the dough seam-side down on a baking sheet lined with parchment paper.
- Once the oven is preheated, make a few shallow cuts on the top of the dough using a sharp knife.
- Bake the bread for 30-35 minutes, or until golden brown and hollow sounding when tapped.
- Remove the bread from the oven and let it cool on a wire rack before slicing.
Notes
- The dough will be sticky initially; avoid adding too much extra flour.
- Tapping the bottom of the finished loaf is the best way to check for doneness.
- Use instant yeast for the fastest results.
- Prep Time: 5 minutes
- Cook Time: 35 minutes
- Category: Bread
- Method: Baking
- Cuisine: American
Nutrition
- Serving Size: 1 slice
- Calories: Approx. 150
- Sugar: Low
- Sodium: Moderate
- Fat: Low
- Saturated Fat: Low
- Unsaturated Fat: Not specified
- Trans Fat: 0g
- Carbohydrates: Approx. 31g
- Fiber: Approx. 1g
- Protein: Approx. 4g
- Cholesterol: 0mg